So my latest assignment (and I promise to update the blog with the last six month’s worth of assignments soon.. I promise) was a Silver Brooch for a 14th century Welsh persona. Based on the write up, she’s an avid embroiderer who helps out with elevation garments and enjoys researching primary sources to use for embroidery designs.
As soon as I heard 14th century I immediately thought of the trap manuscript (Luttrell Psalter) and just as quickly said, NO WAY AM I DOING THAT TO MYSELF AGAIN, or at least so soon… And then remembered that there were a bunch of psalters from that time frame with equally awesome illuminations – particularly my favorite, the fox preaching to the geese.
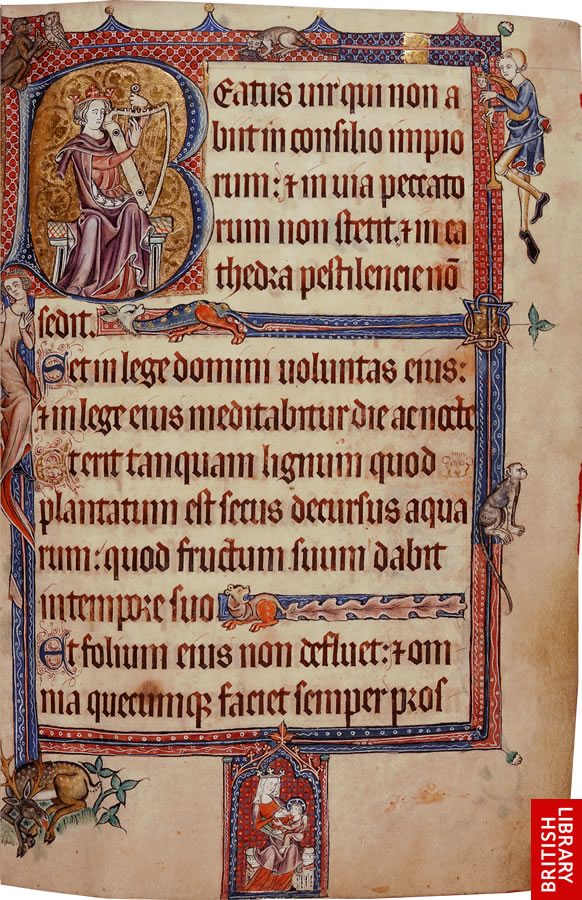
So I looked up fox and geese and psalter and google came back with the Gorleston Psalter, which is not actually the manuscript I was thinking of, but is equally cool. And best of all, since it’s not the Luttrell, it doesn’t have those god awful flat feet in the calligraphy! It’s more of a proto-gothic, leaning heavily towards the gothic style. Which, while way more angular than I like doing, at least seems like something I could some day get good at, as opposed to the Luttrell hand of doom.
I emailed back and forth with Mistress Briony to get some more clues on what the recipient would enjoy and found out that she has a love of bunnies. Perfect! This time period is crawling with bunnies!
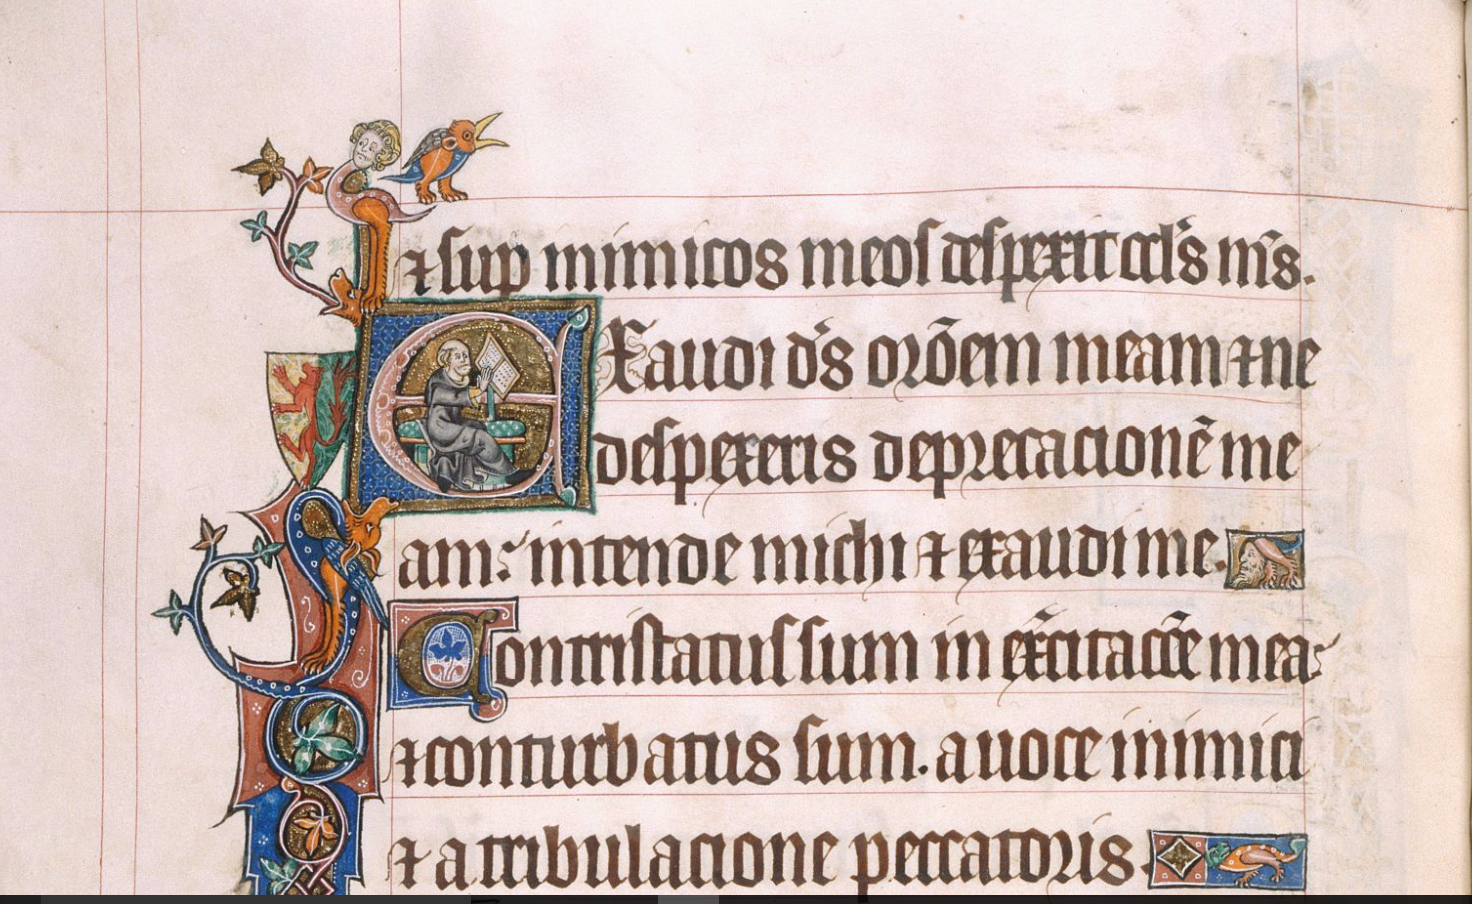
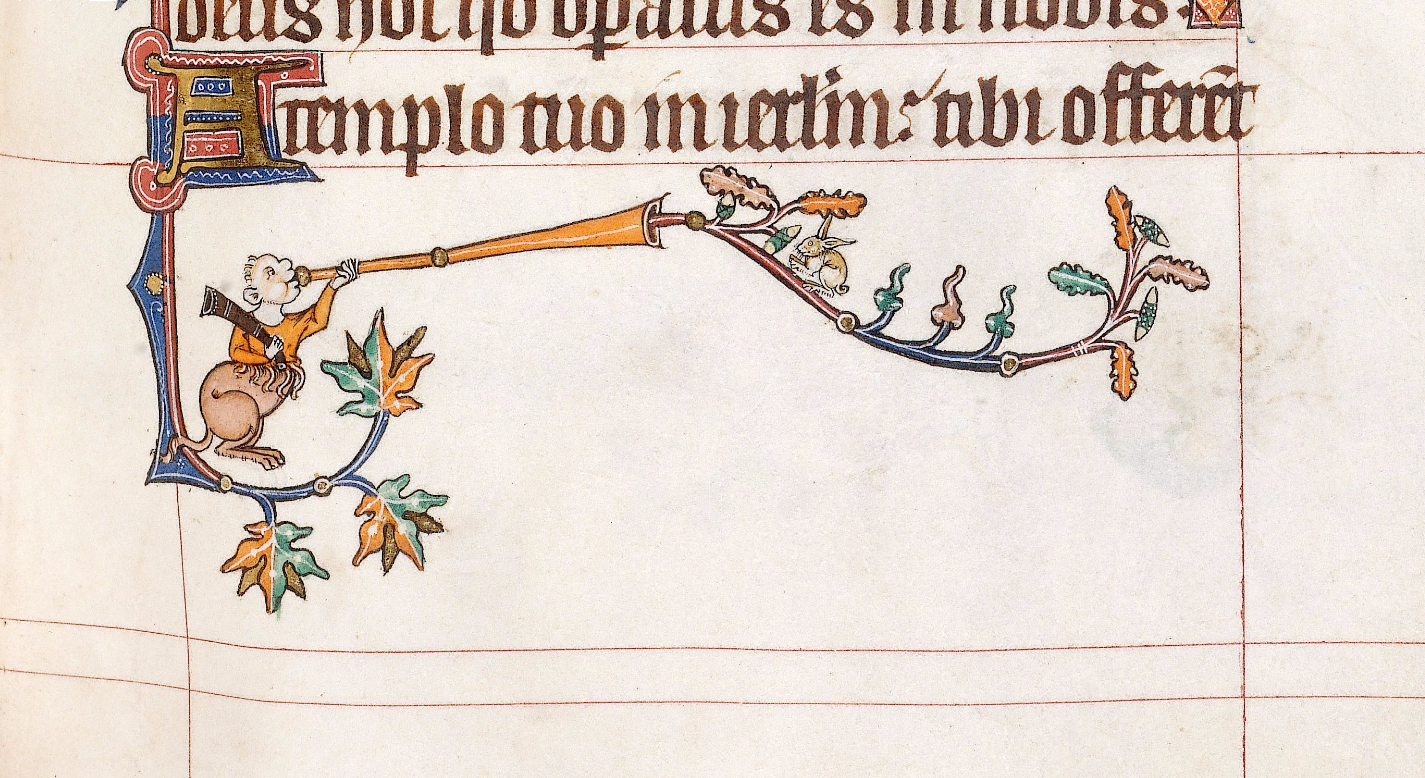
I browsed through the Gorleston Psalter, noting all the interesting and fun themes I found along the way as I totally plan to use this source again – it’s like a saner version of the Luttrell! And eventually I honed in on one particular page, 70v, which has a monk working at a scribal desk for its initial capital. I decided I could pretty easily make that into a woman working at an embroidery frame, which would be appropriate for the time period and recipient, and started looking for other elements to put together to better personalize the scroll.
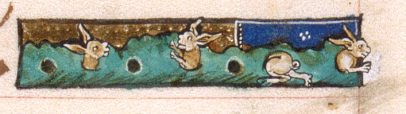
I found some great bunnies in the line extenders –
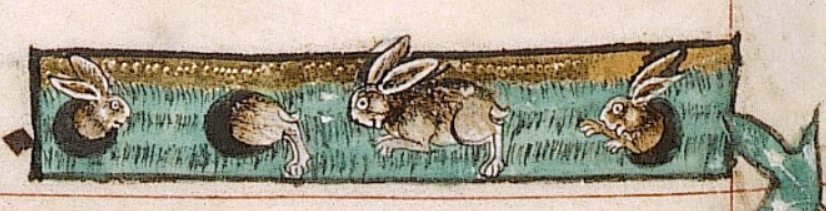
and lots of fun bunnies all over the place!

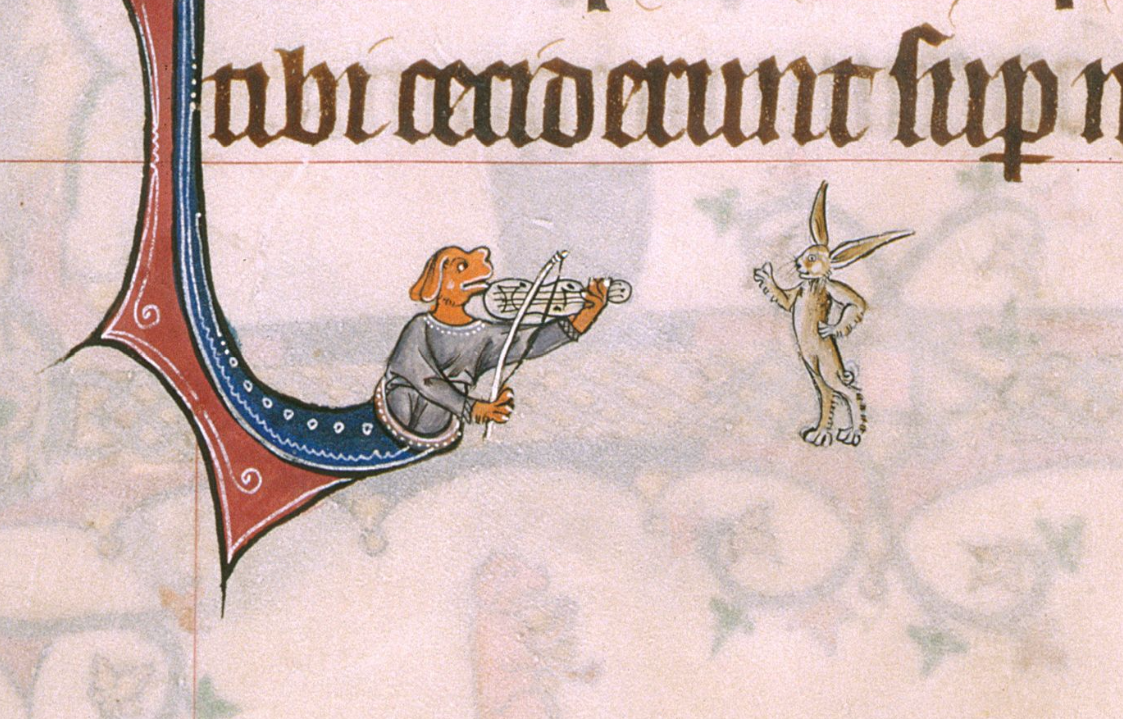
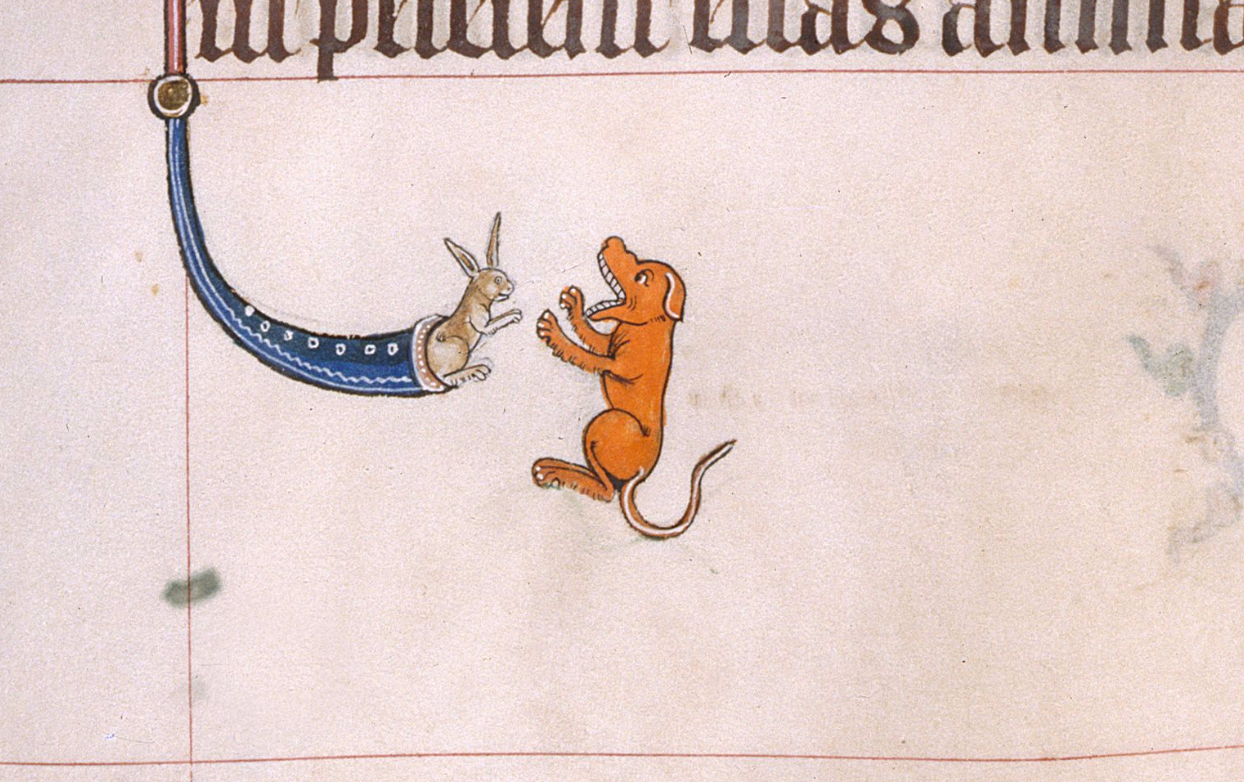
I went with this one as it balanced well with the rest of the design I wanted to use:
I put all the pieces into a graphics program to see how I can best put the pieces together, after many iterations, I decided I liked this one best-

I had a slightly shorter lead time than I usually have, or at least it felt that way since it was in that post pennsic month where time has a hard time existing in linear form. And to make the situation more stressful, my main scribal support network were on a cruise. So I was on my own, and decided to do the part I hate most, the words, first.
Given the space concerns, I needed to make the text pretty small, but still personal. I ended up with 97 words, which fit pretty nicely. I actually ended up squeezing more space out of it, thus I kinda wish I had added another sentence, but my draft versions just fit, so that was the reason I didn’t make it longer. I’ve had too many occurrences of just barely getting all the words onto the scroll. This time I was going to play it safe.
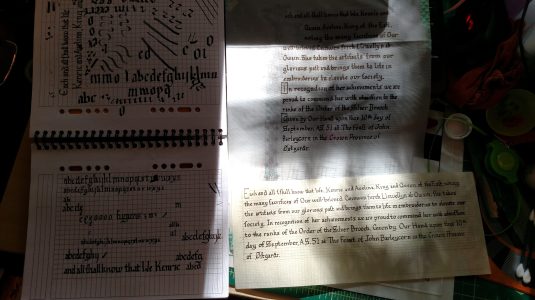
The first thing I did was trace the main elements of the design onto tracing paper and then overlaid it with another piece on which I did a first draft of the calligraphy, more to see how it would fit and how many capitals I’d need to do and where I could put the sentence spacers. It ended up making more sense to only use one of the spacers as the signature lines would end up taking up the bottom space.
Once I felt that the words would fit, I started practicing the hand and the words on scraps of perg that I had left over from other projects as I’ve found that since I normally practice on paper, I’m always nervous on perg – so I need more practice on perg. Thankfully I’ve finally convinced my head that the perg isn’t really that expensive, particularly in comparison to other scribal expenses, so I can use the scraps for practice –
I still don’t have the discipline to get my angles consistent and I’m still not great on keeping my letters within the proper lines. It’s like it’s a test where you have to fill in just the circle, no more, no less – and for some reason my hand always slips, no matter how hard I concentrate. But it’s getting better with daily practice. I have very little desire to ever do full gothic (I don’t like how it looks) but I do hope to get better at this looser style.
Leanne and I brainstormed some hands that might fit my natural tendencies better like humanist, but I like the cartoony style of the 12th-14th century.
But anyway on to the actual scroll –
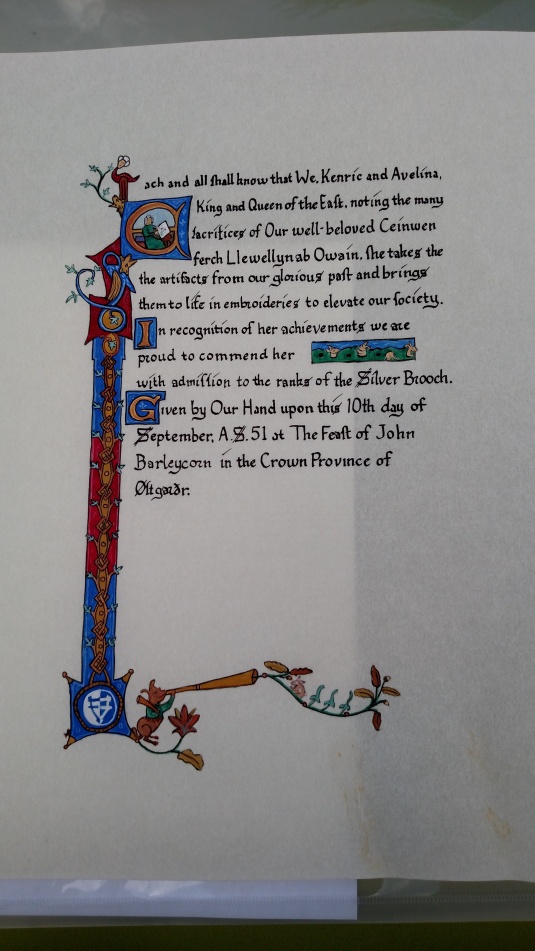
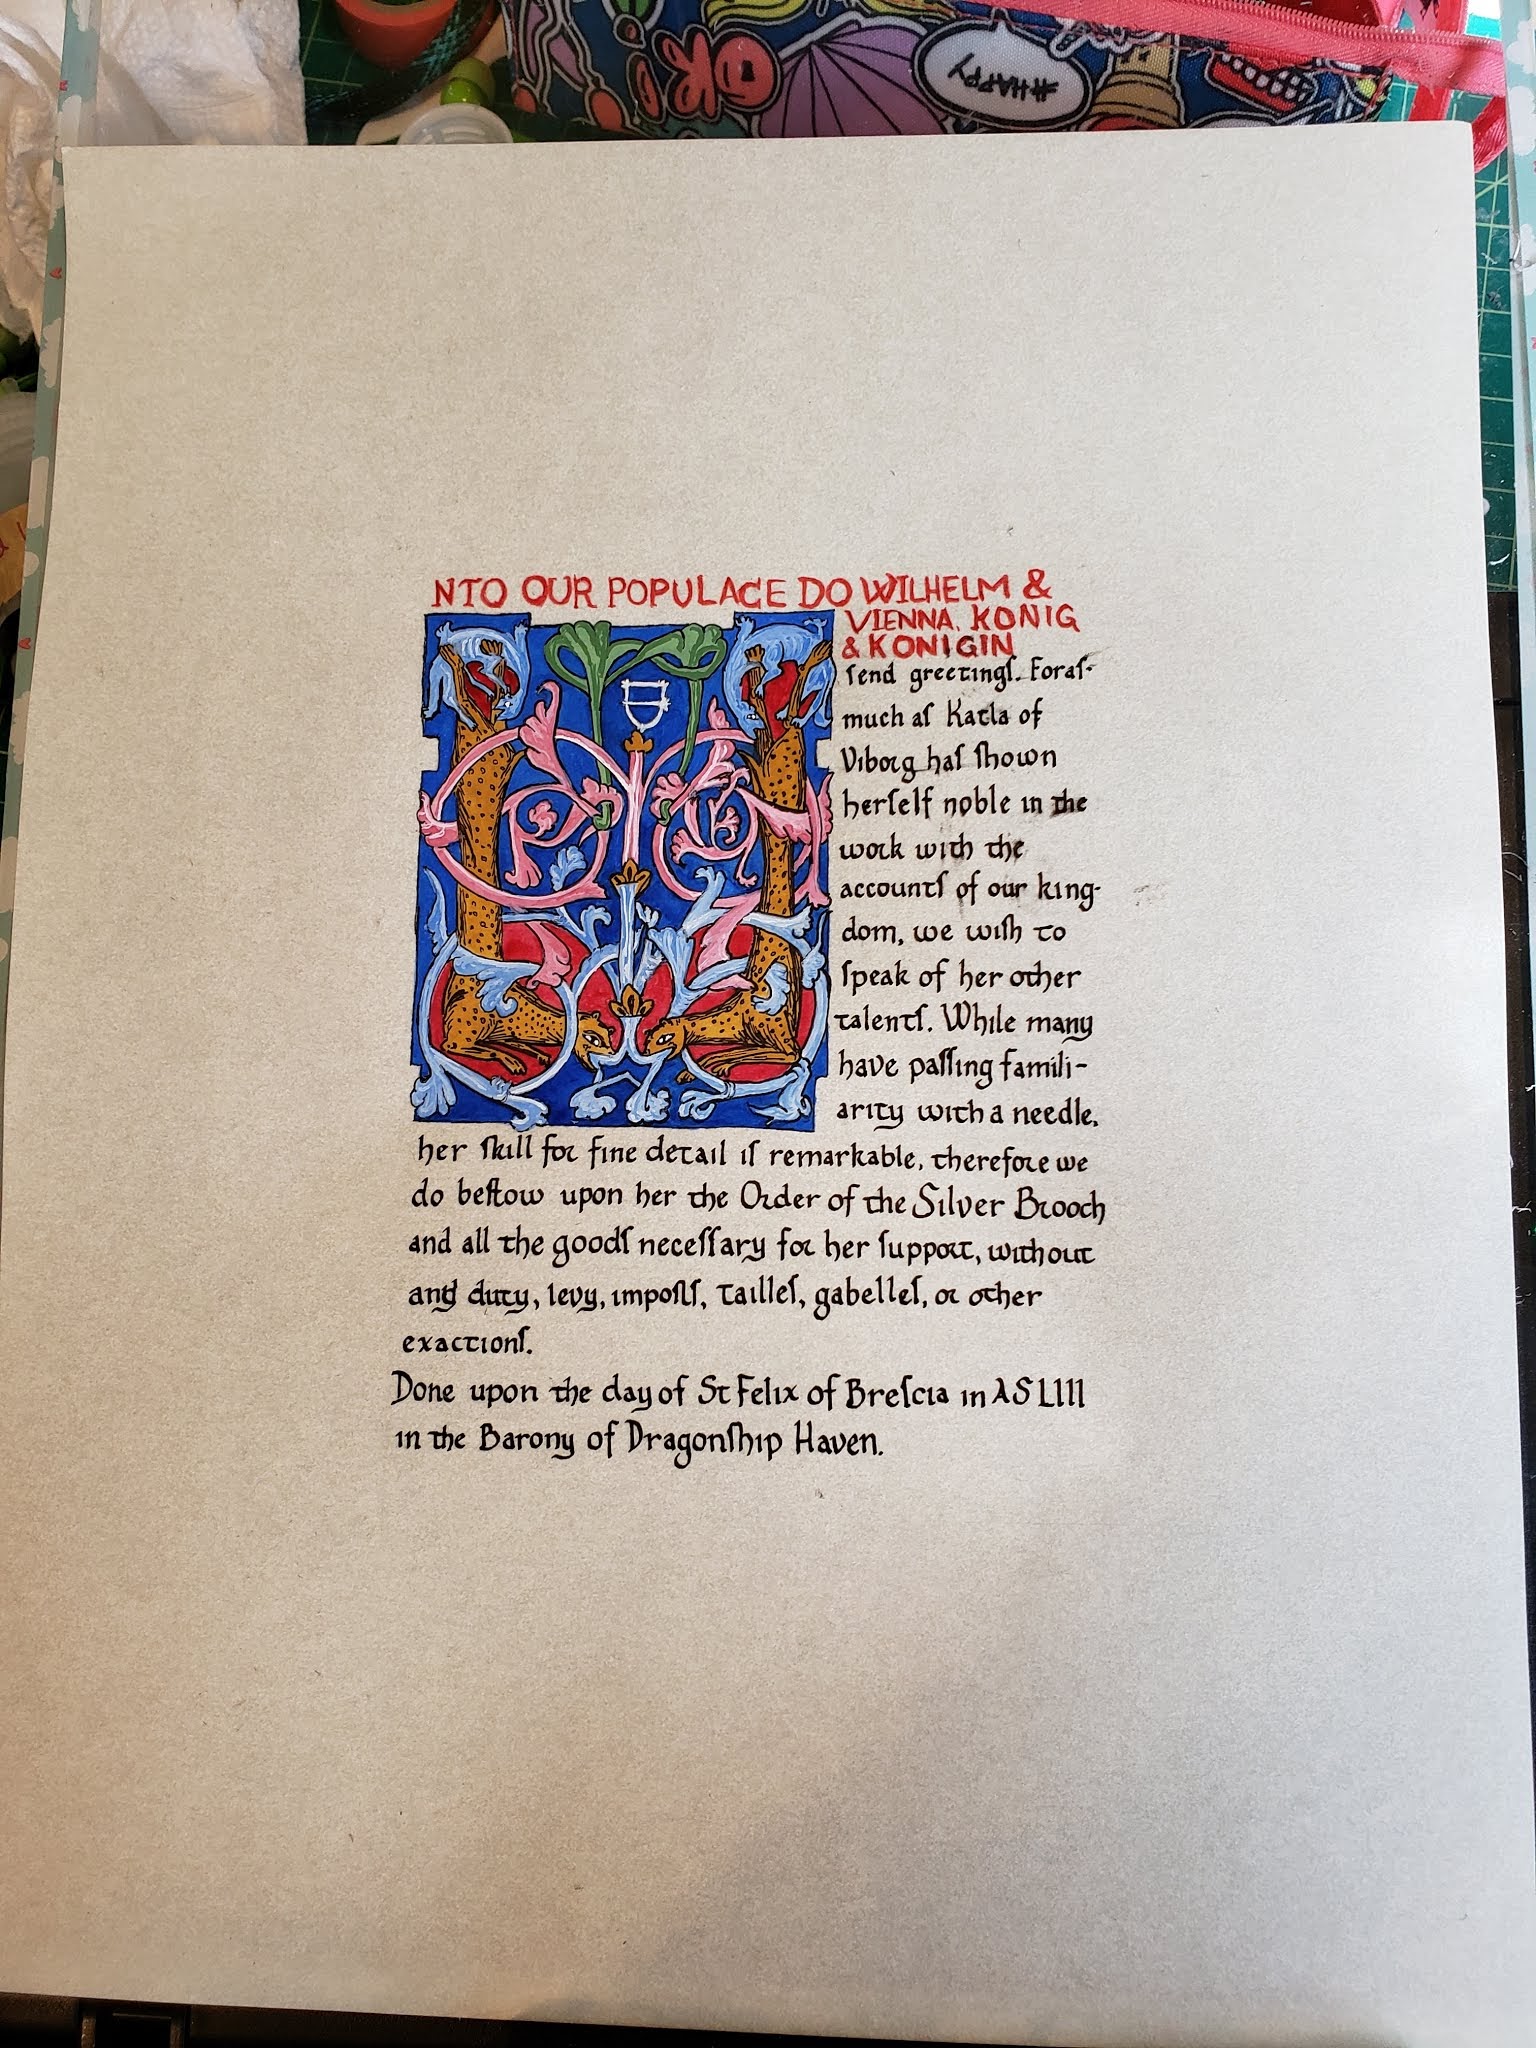
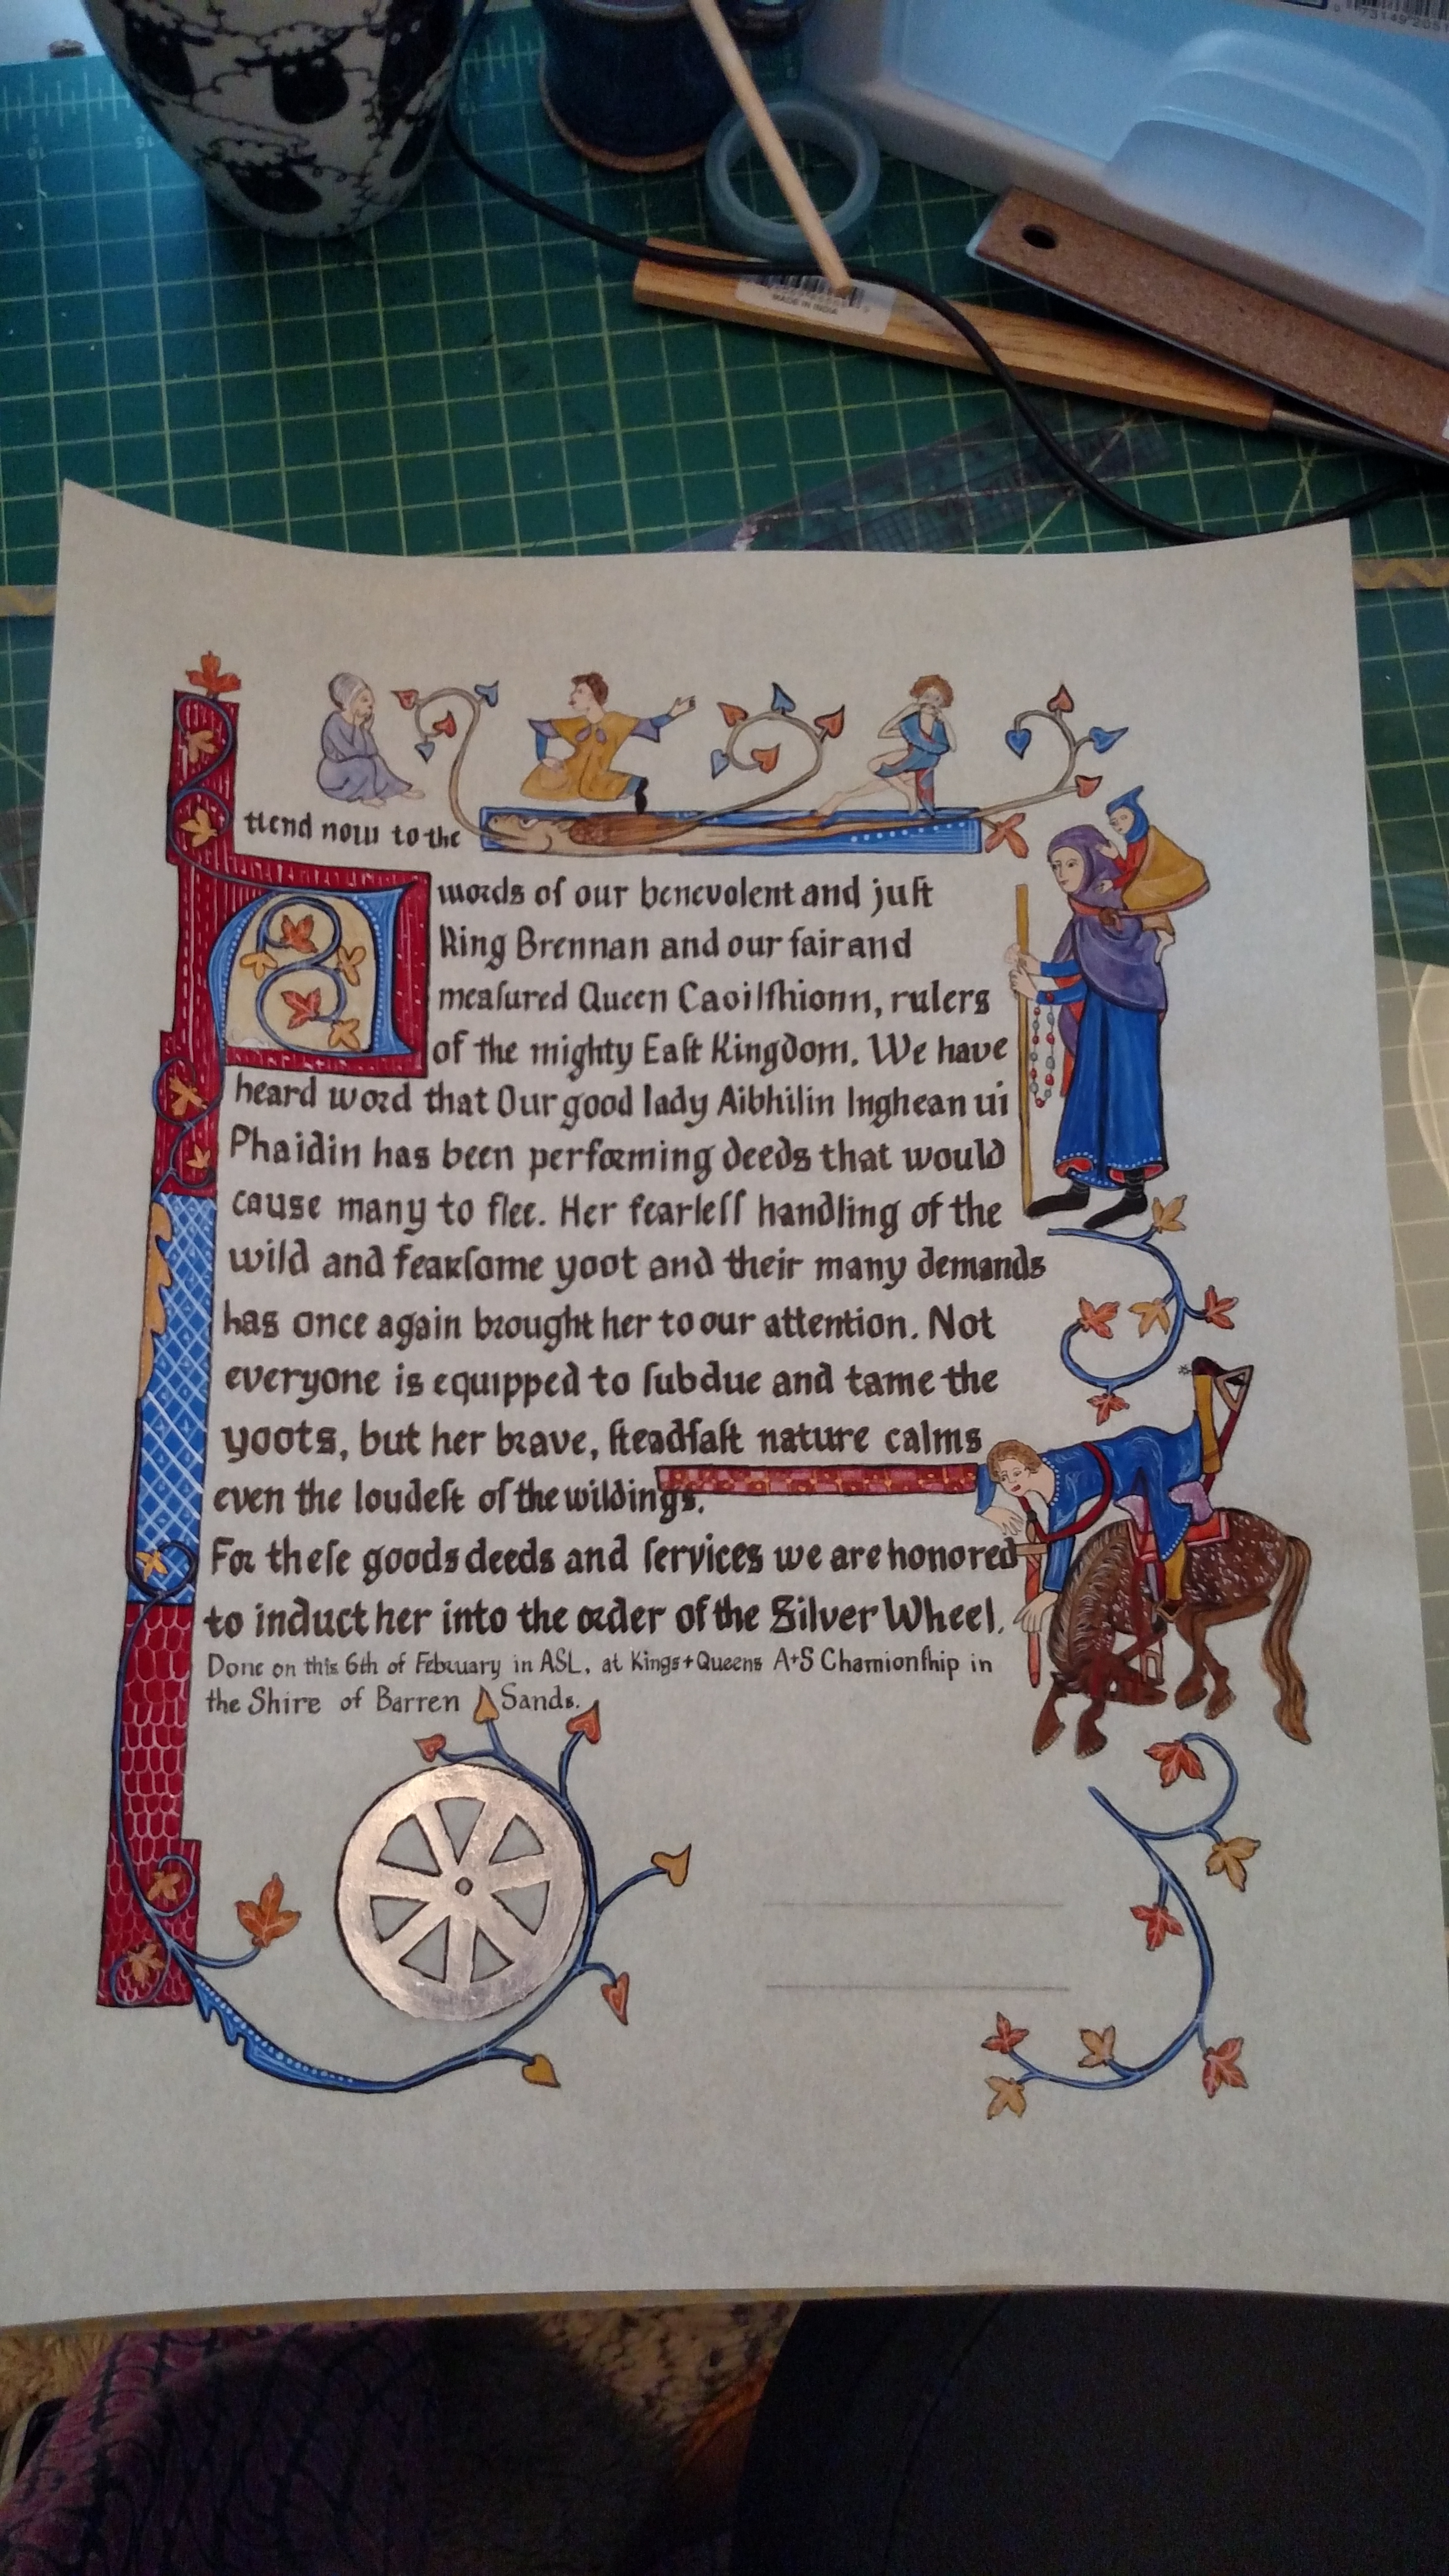
Ignoring for the moment the shapes of my letters (too round, I know) the two other issues are word spacing and line spacing. The line spacing is the stupidest mistake – for who knows what reason I started on the wrong line – DESPITE LABELING THEM- and then got slightly confused on the fourth line down. There is nothing to be done here other than beat myself with a heavy book. But I swear I do this every time… It’s so frustrating.
My word spacing issues come from my perennial fear of running out of space. I over compensated this time, smooshing everything in together. I think more vertical guidelines would have helped with this – but also doing more drafts at full size on the tracing paper so I can be more confident that my words will fit on the page.
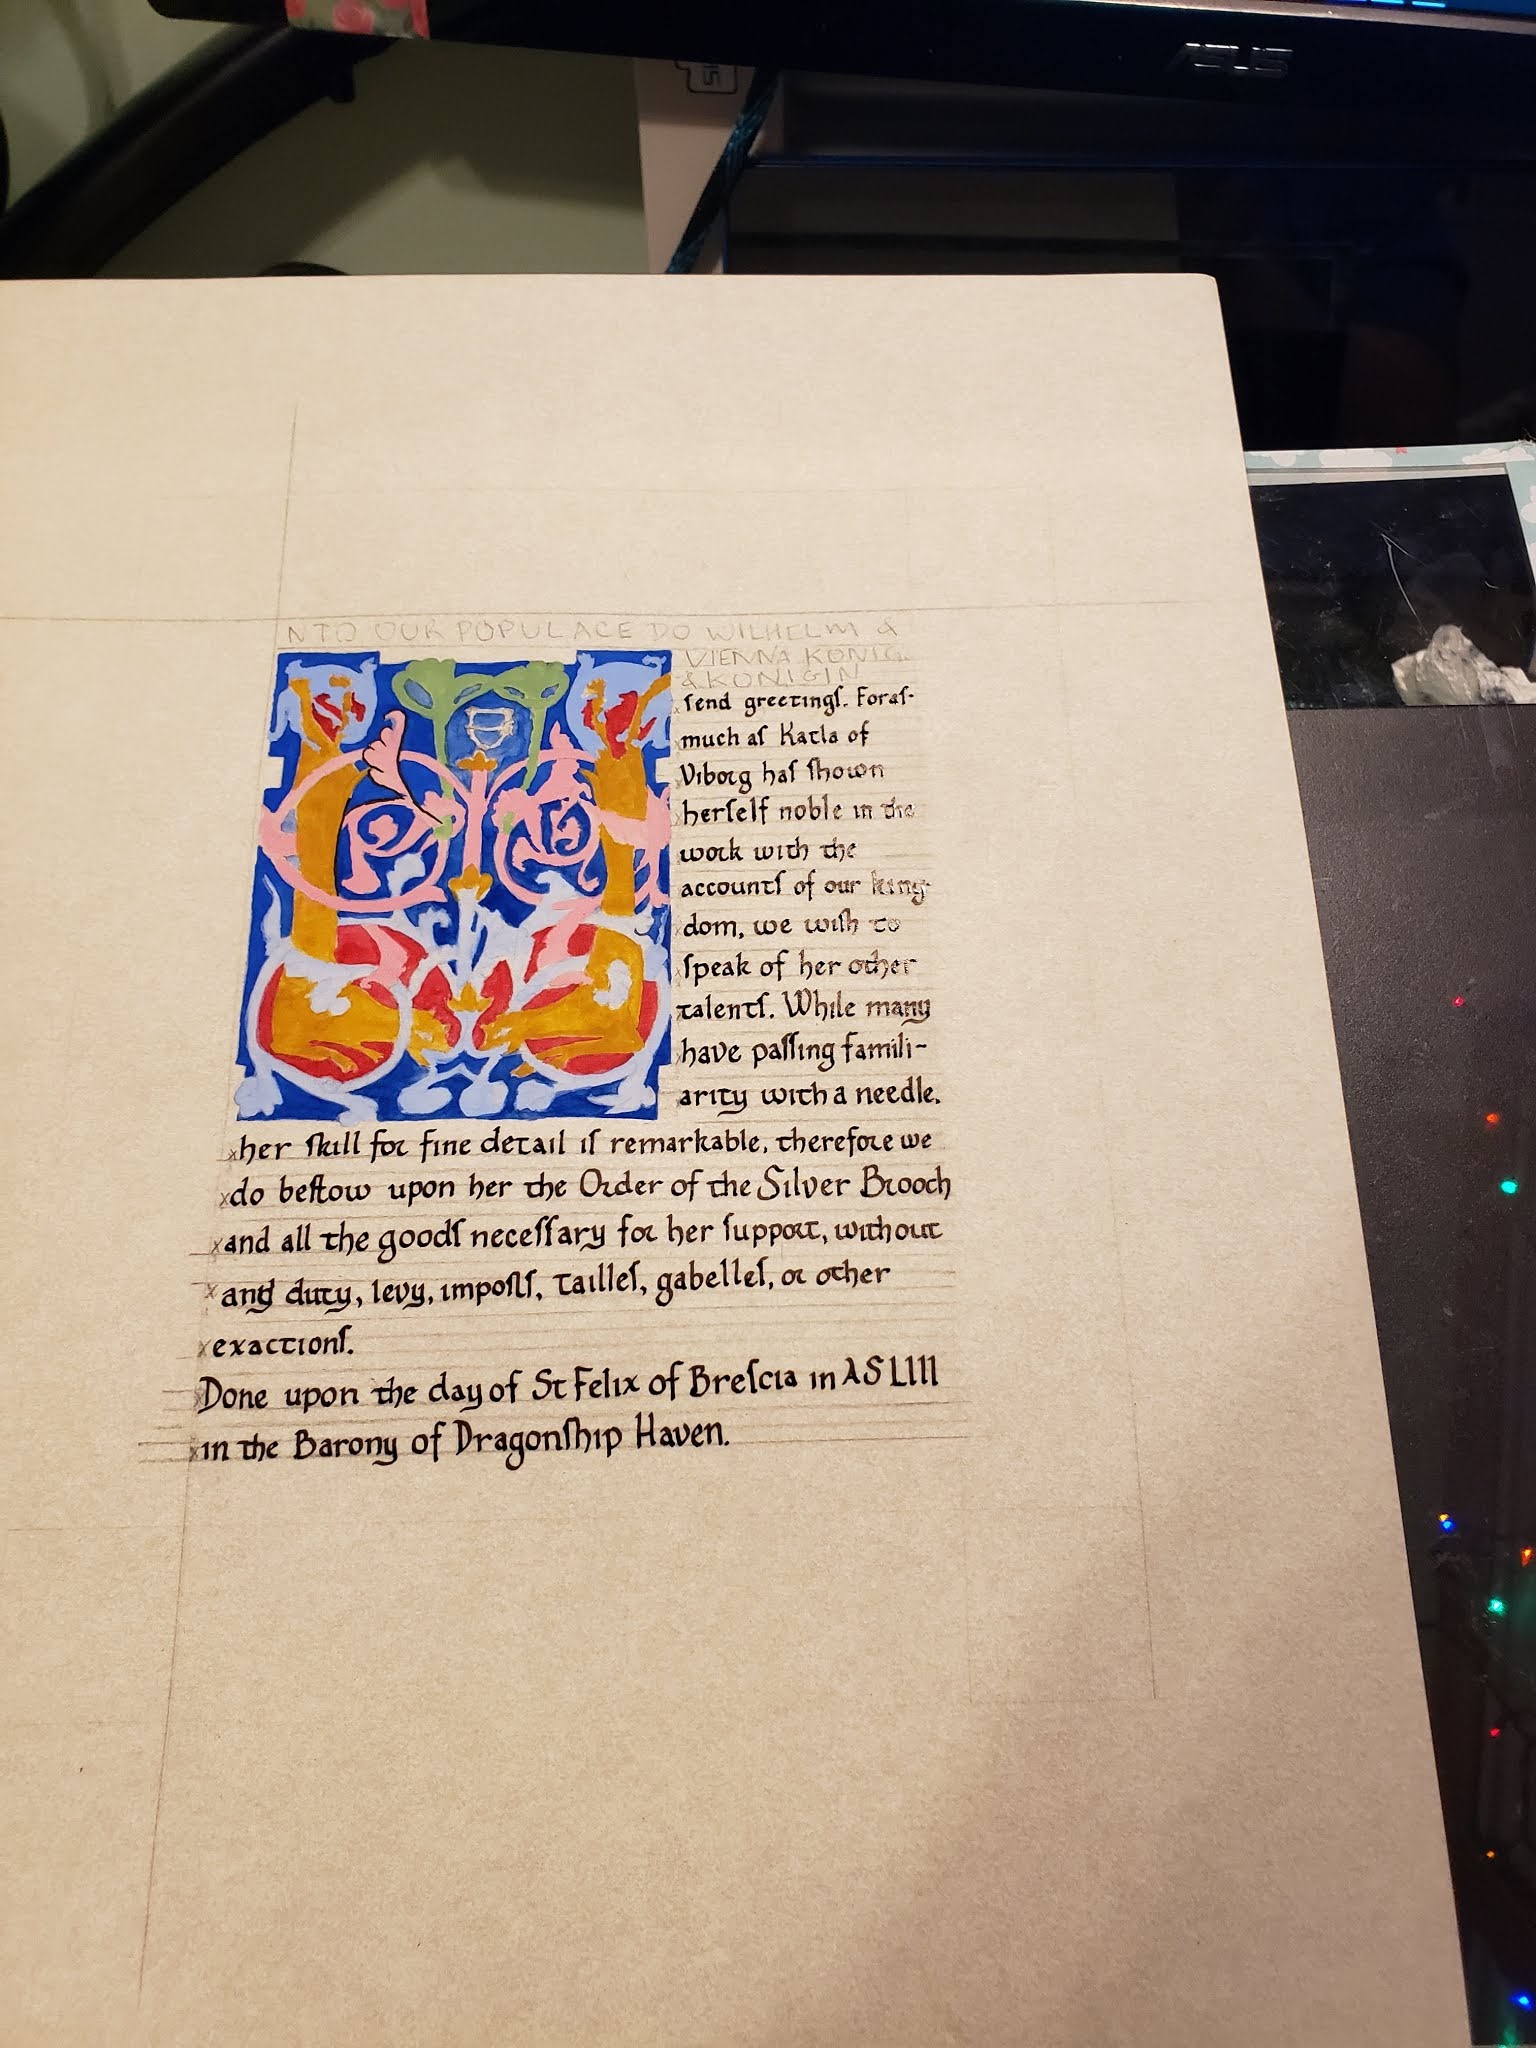
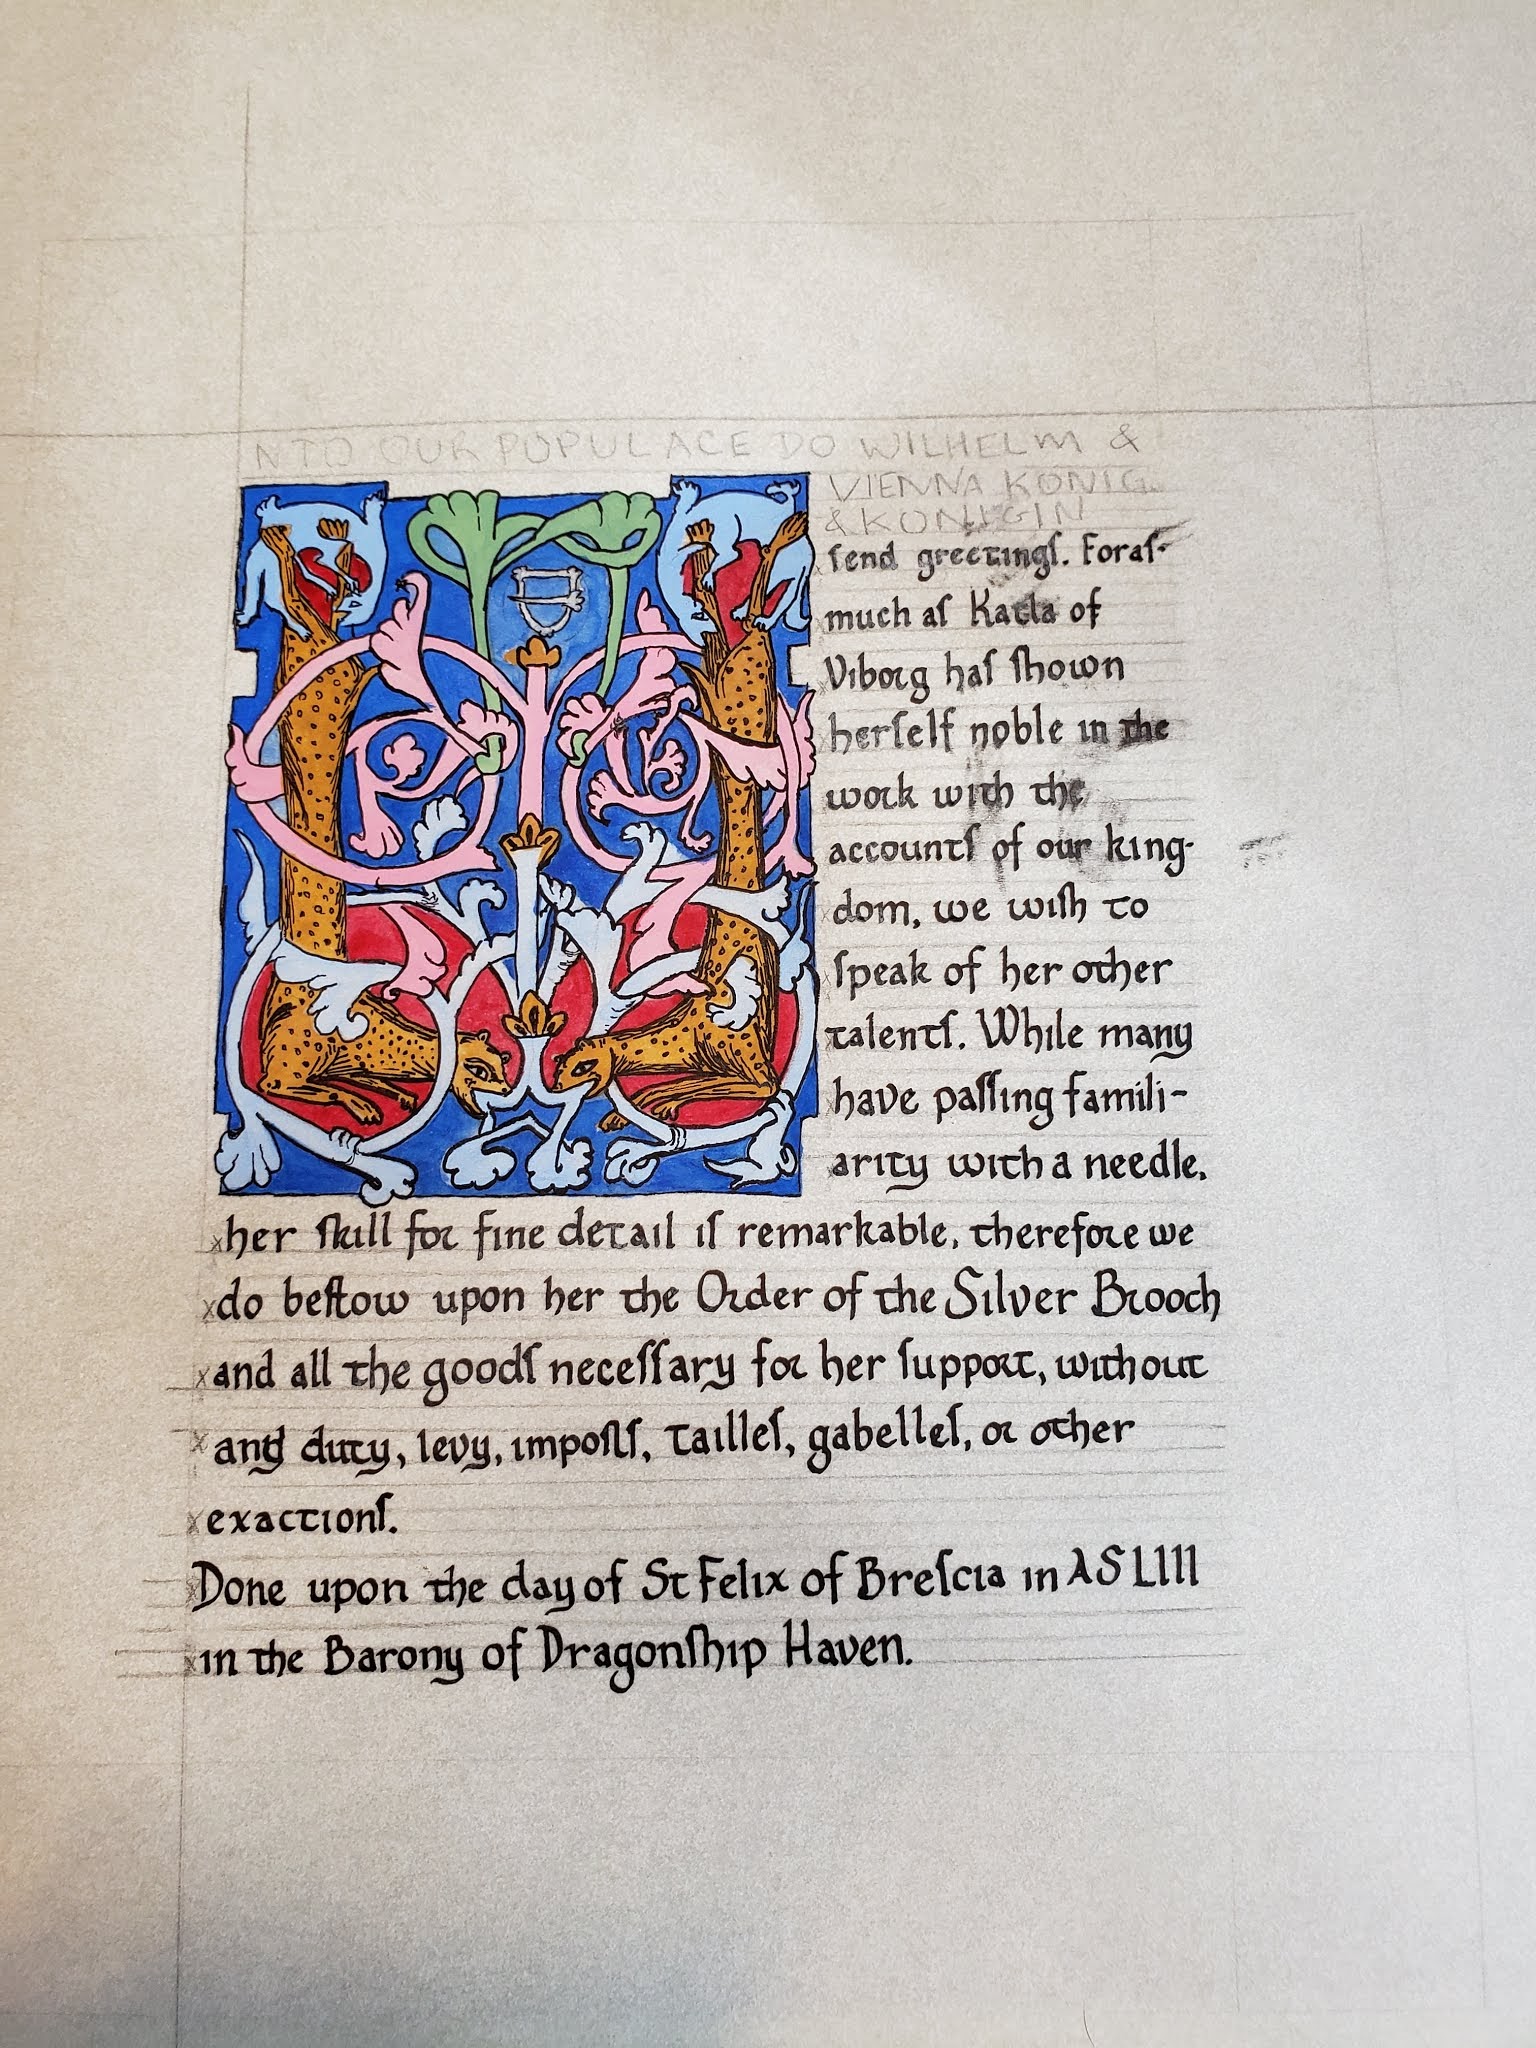
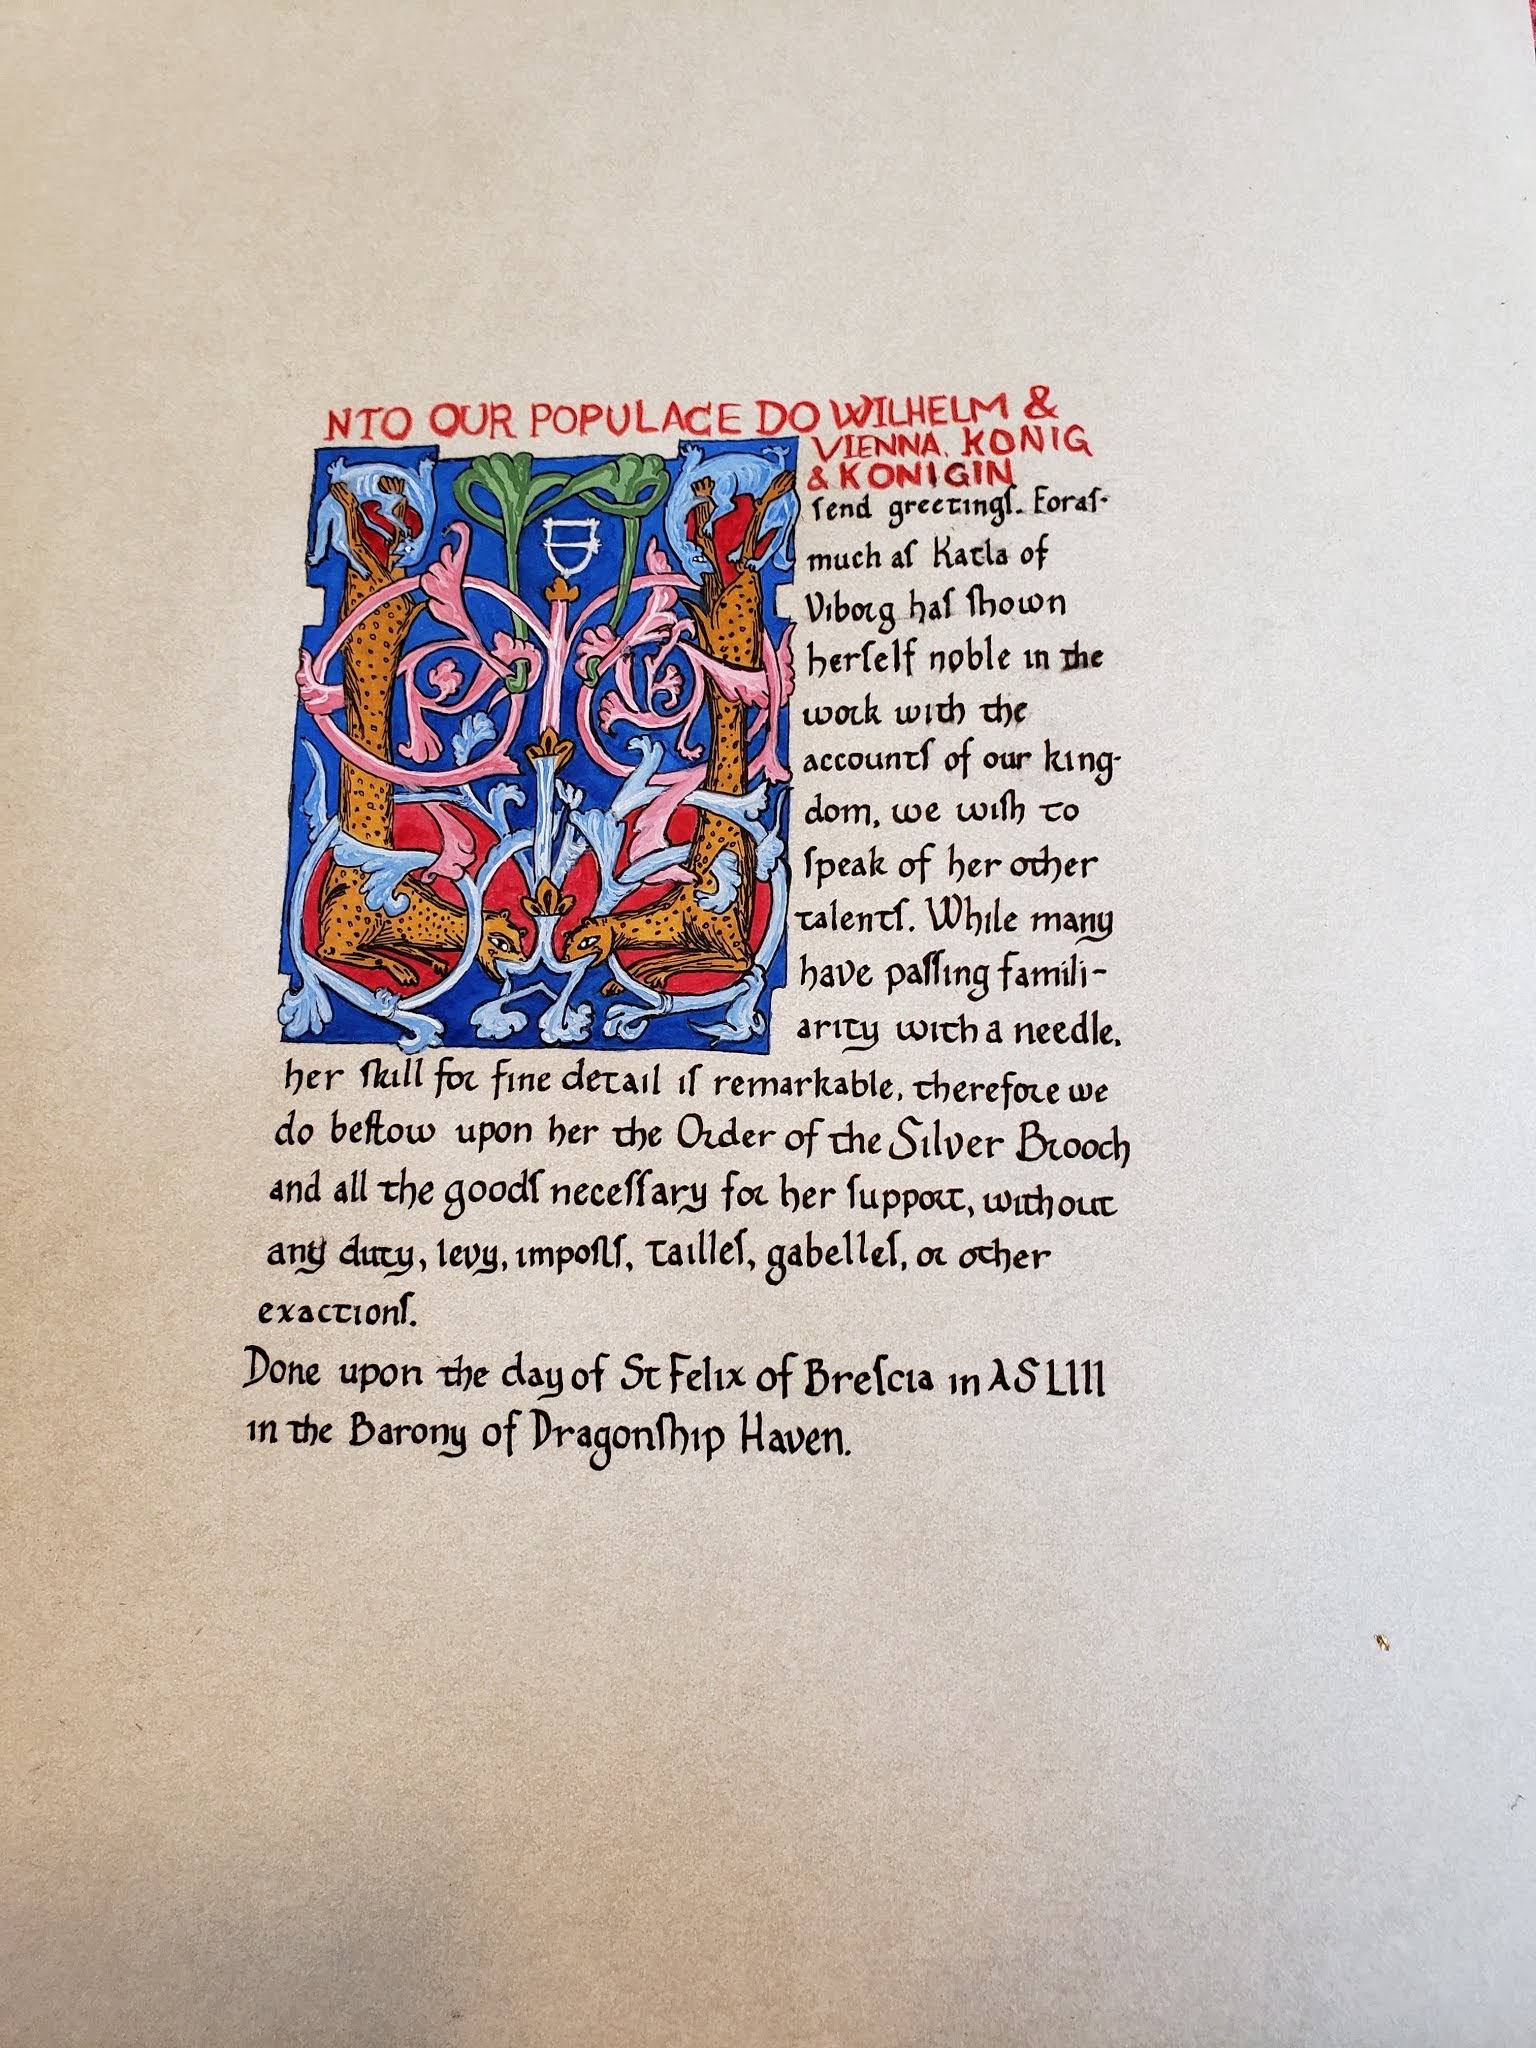
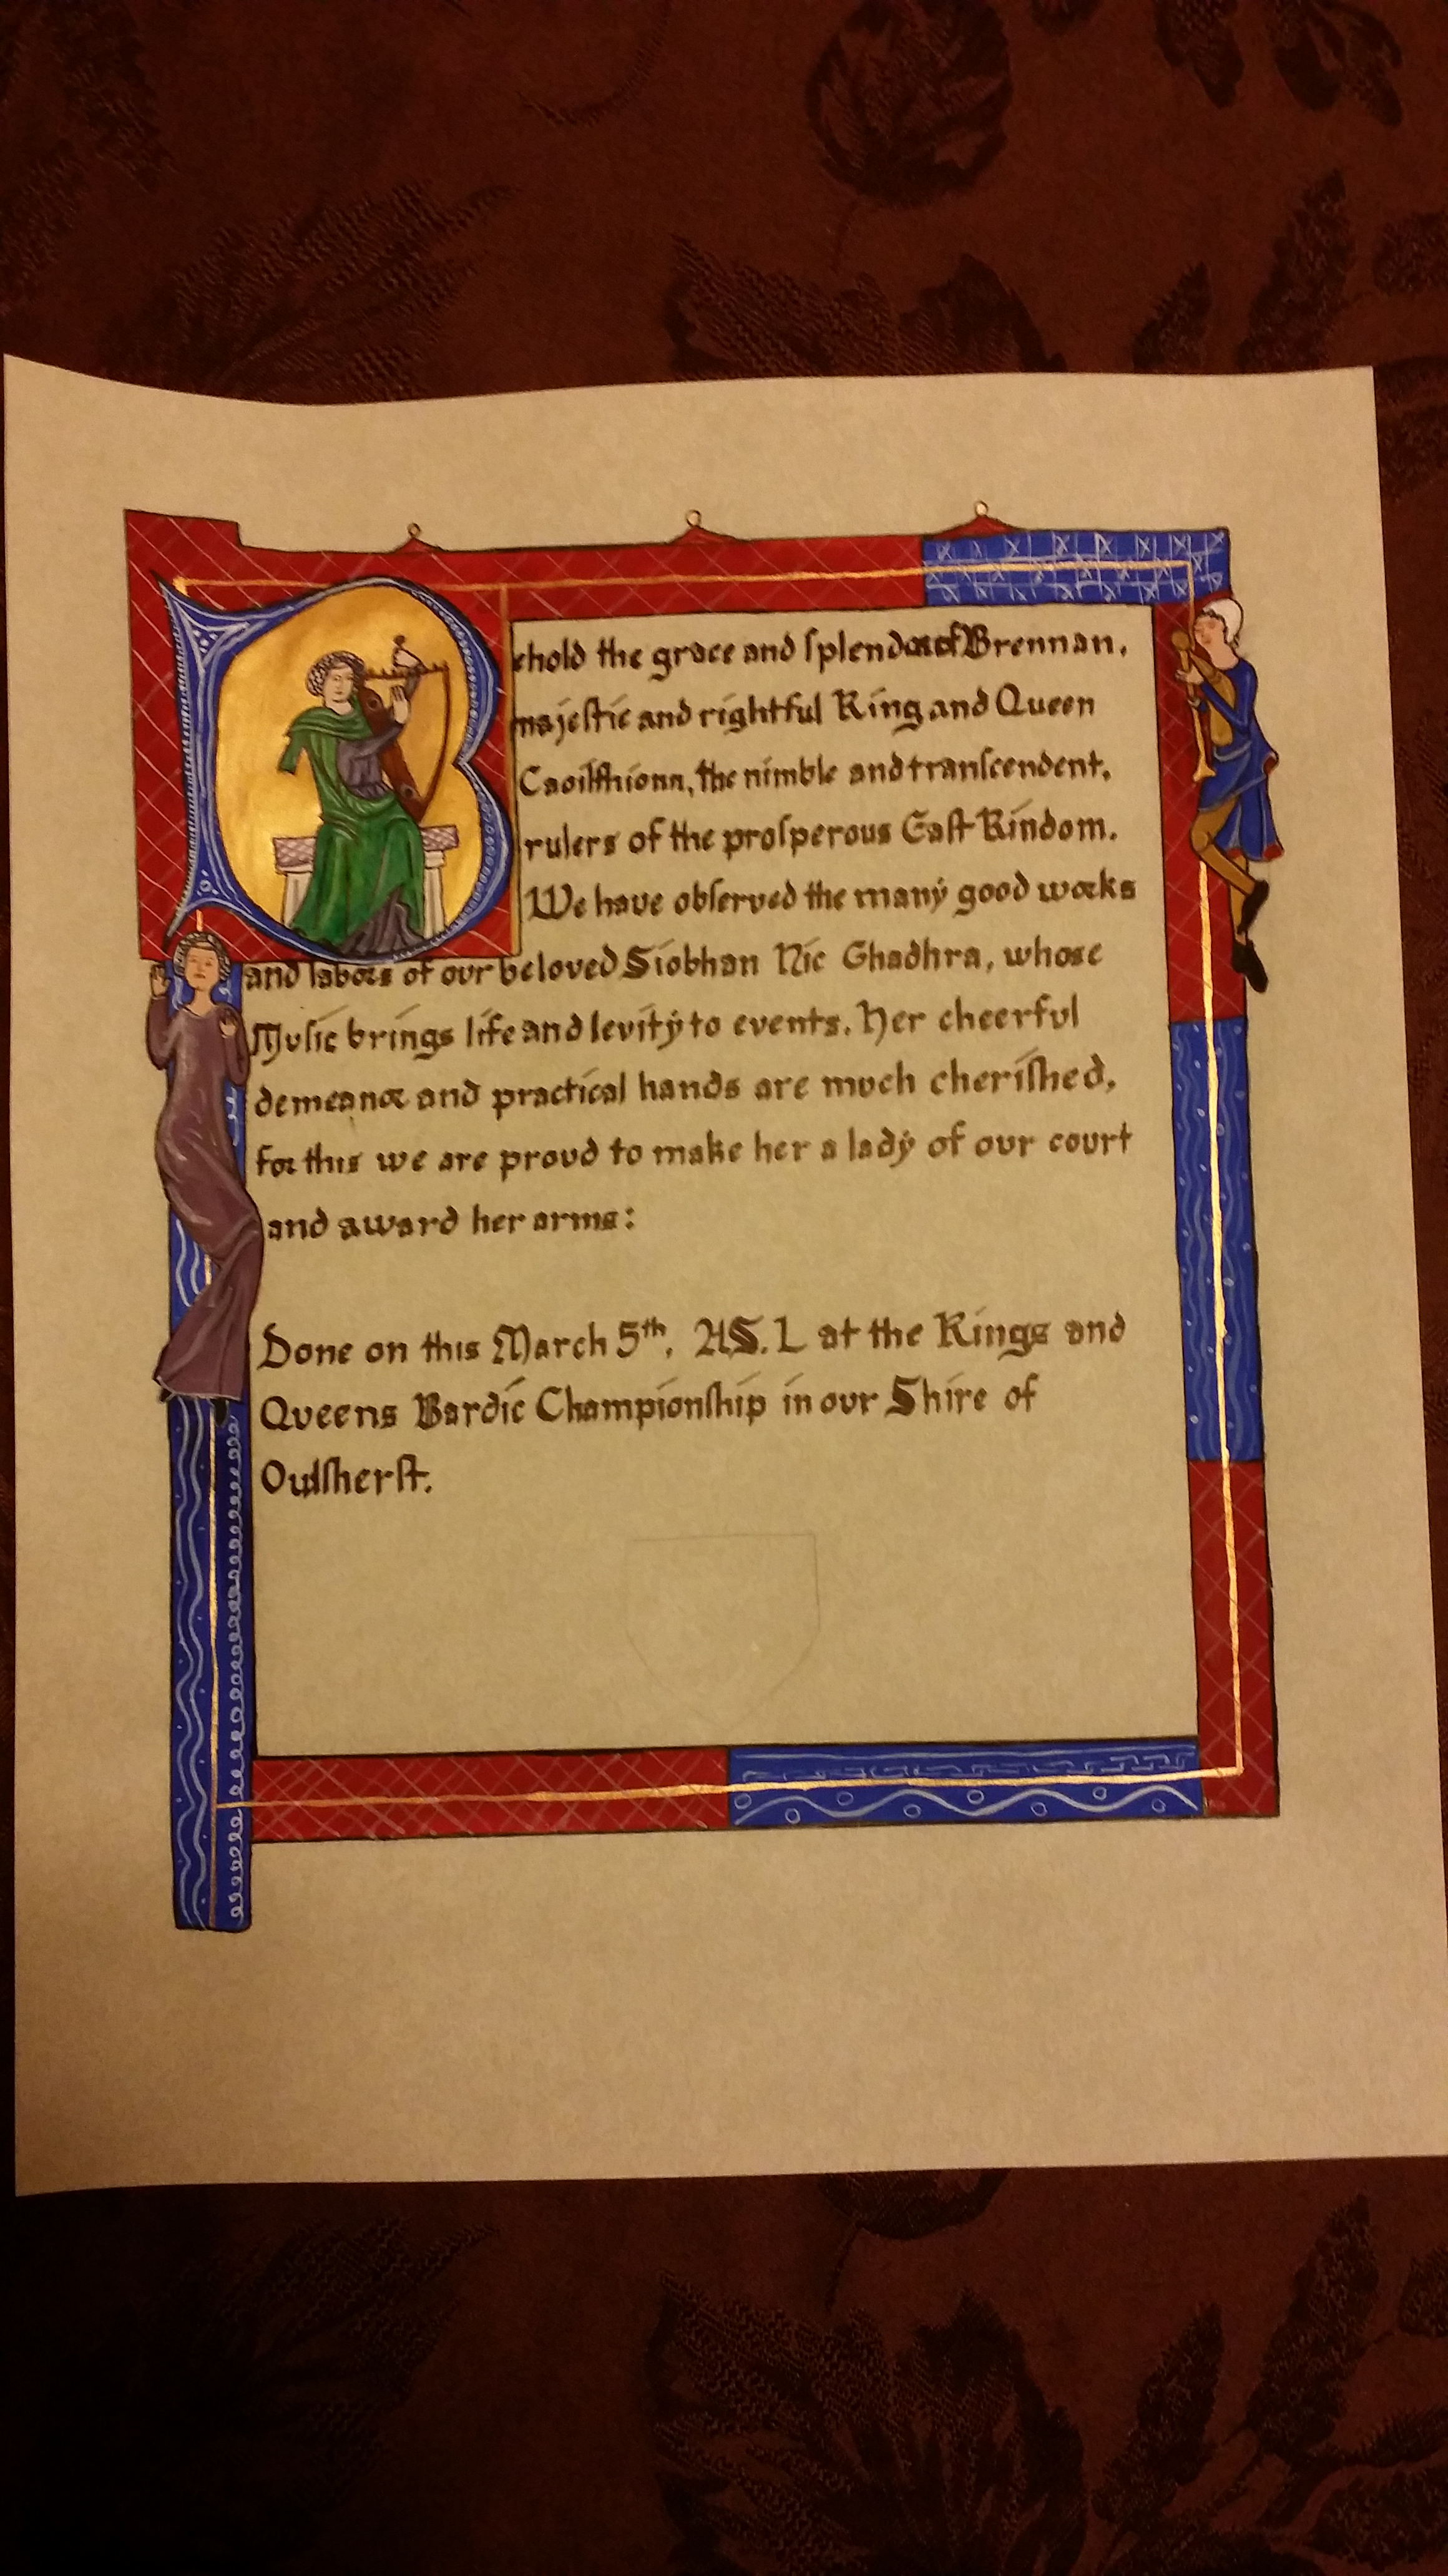
As for the illumination, I think it came out pretty well. It’s very hard to tell from this picture because of the lighting (zooming in helps), but there’s white work on everything and it really adds a great dimension to the piece. I like the natural graceful shape of all the shapes. I measured and drew most of it by hand, and then traced over that to get the more natural lines. I decided to keep the slightly listing border design (the words are justified, but the border isn’t, it’s at like a 10 degree angle to the words) as that was how many of the borders were presented in the original, and I could see why the scribes had chosen that option – the text was the more important part and this was the easy way to make the border fit in around the capitals.
I used Holbein Gold gouache, mixed with WN Alizarin Red gouache to get a range of gold shades to make the gold on gold work look better and feel more three dimensional. The rest of the highlighting and shadows were done primarily using whitework, which sadly isn’t showing well in this photograph.
This was one of the first scrolls I’ve done entirely with gouache instead of using my WN watercolor pans, I’m not sure if it made much of a difference. I do think that the gouache is better for the flat background colors, but I think I much prefer the pans for the shading layers and details as it’s easier to get a consistent layers of paint with the watercolors. Mixing up colors with all the different shades I might need is hard to keep track of and not contaminated with other colors – though that’s mostly because of 20 years experience with high quality watercolors. I’m too used to being able to just mix on the fly.
Which style is more period really depends a great deal on which time period. The difference between gouache and watercolors is primarily the binders and amount the pigments are ground down. Looking at earlier period manuscripts (pre 1300’s) it seems like the technique is closer to the watercolor theory of layering lots of very light coats of pigments in a thin binder. But starting around 1300 you start getting images that look more three dimensional and involve layers of more opaque paint on top of one another. This is much more in line with the gouache techniques and I think also the tempera techniques, though I haven’t played with tempera in many many years. This change in techniques allows for the later full color borders with intricate bugs and flowers that appear lifelike. That is technically possible with the watercolor technique, but is significantly easier with the gouache style of painting.
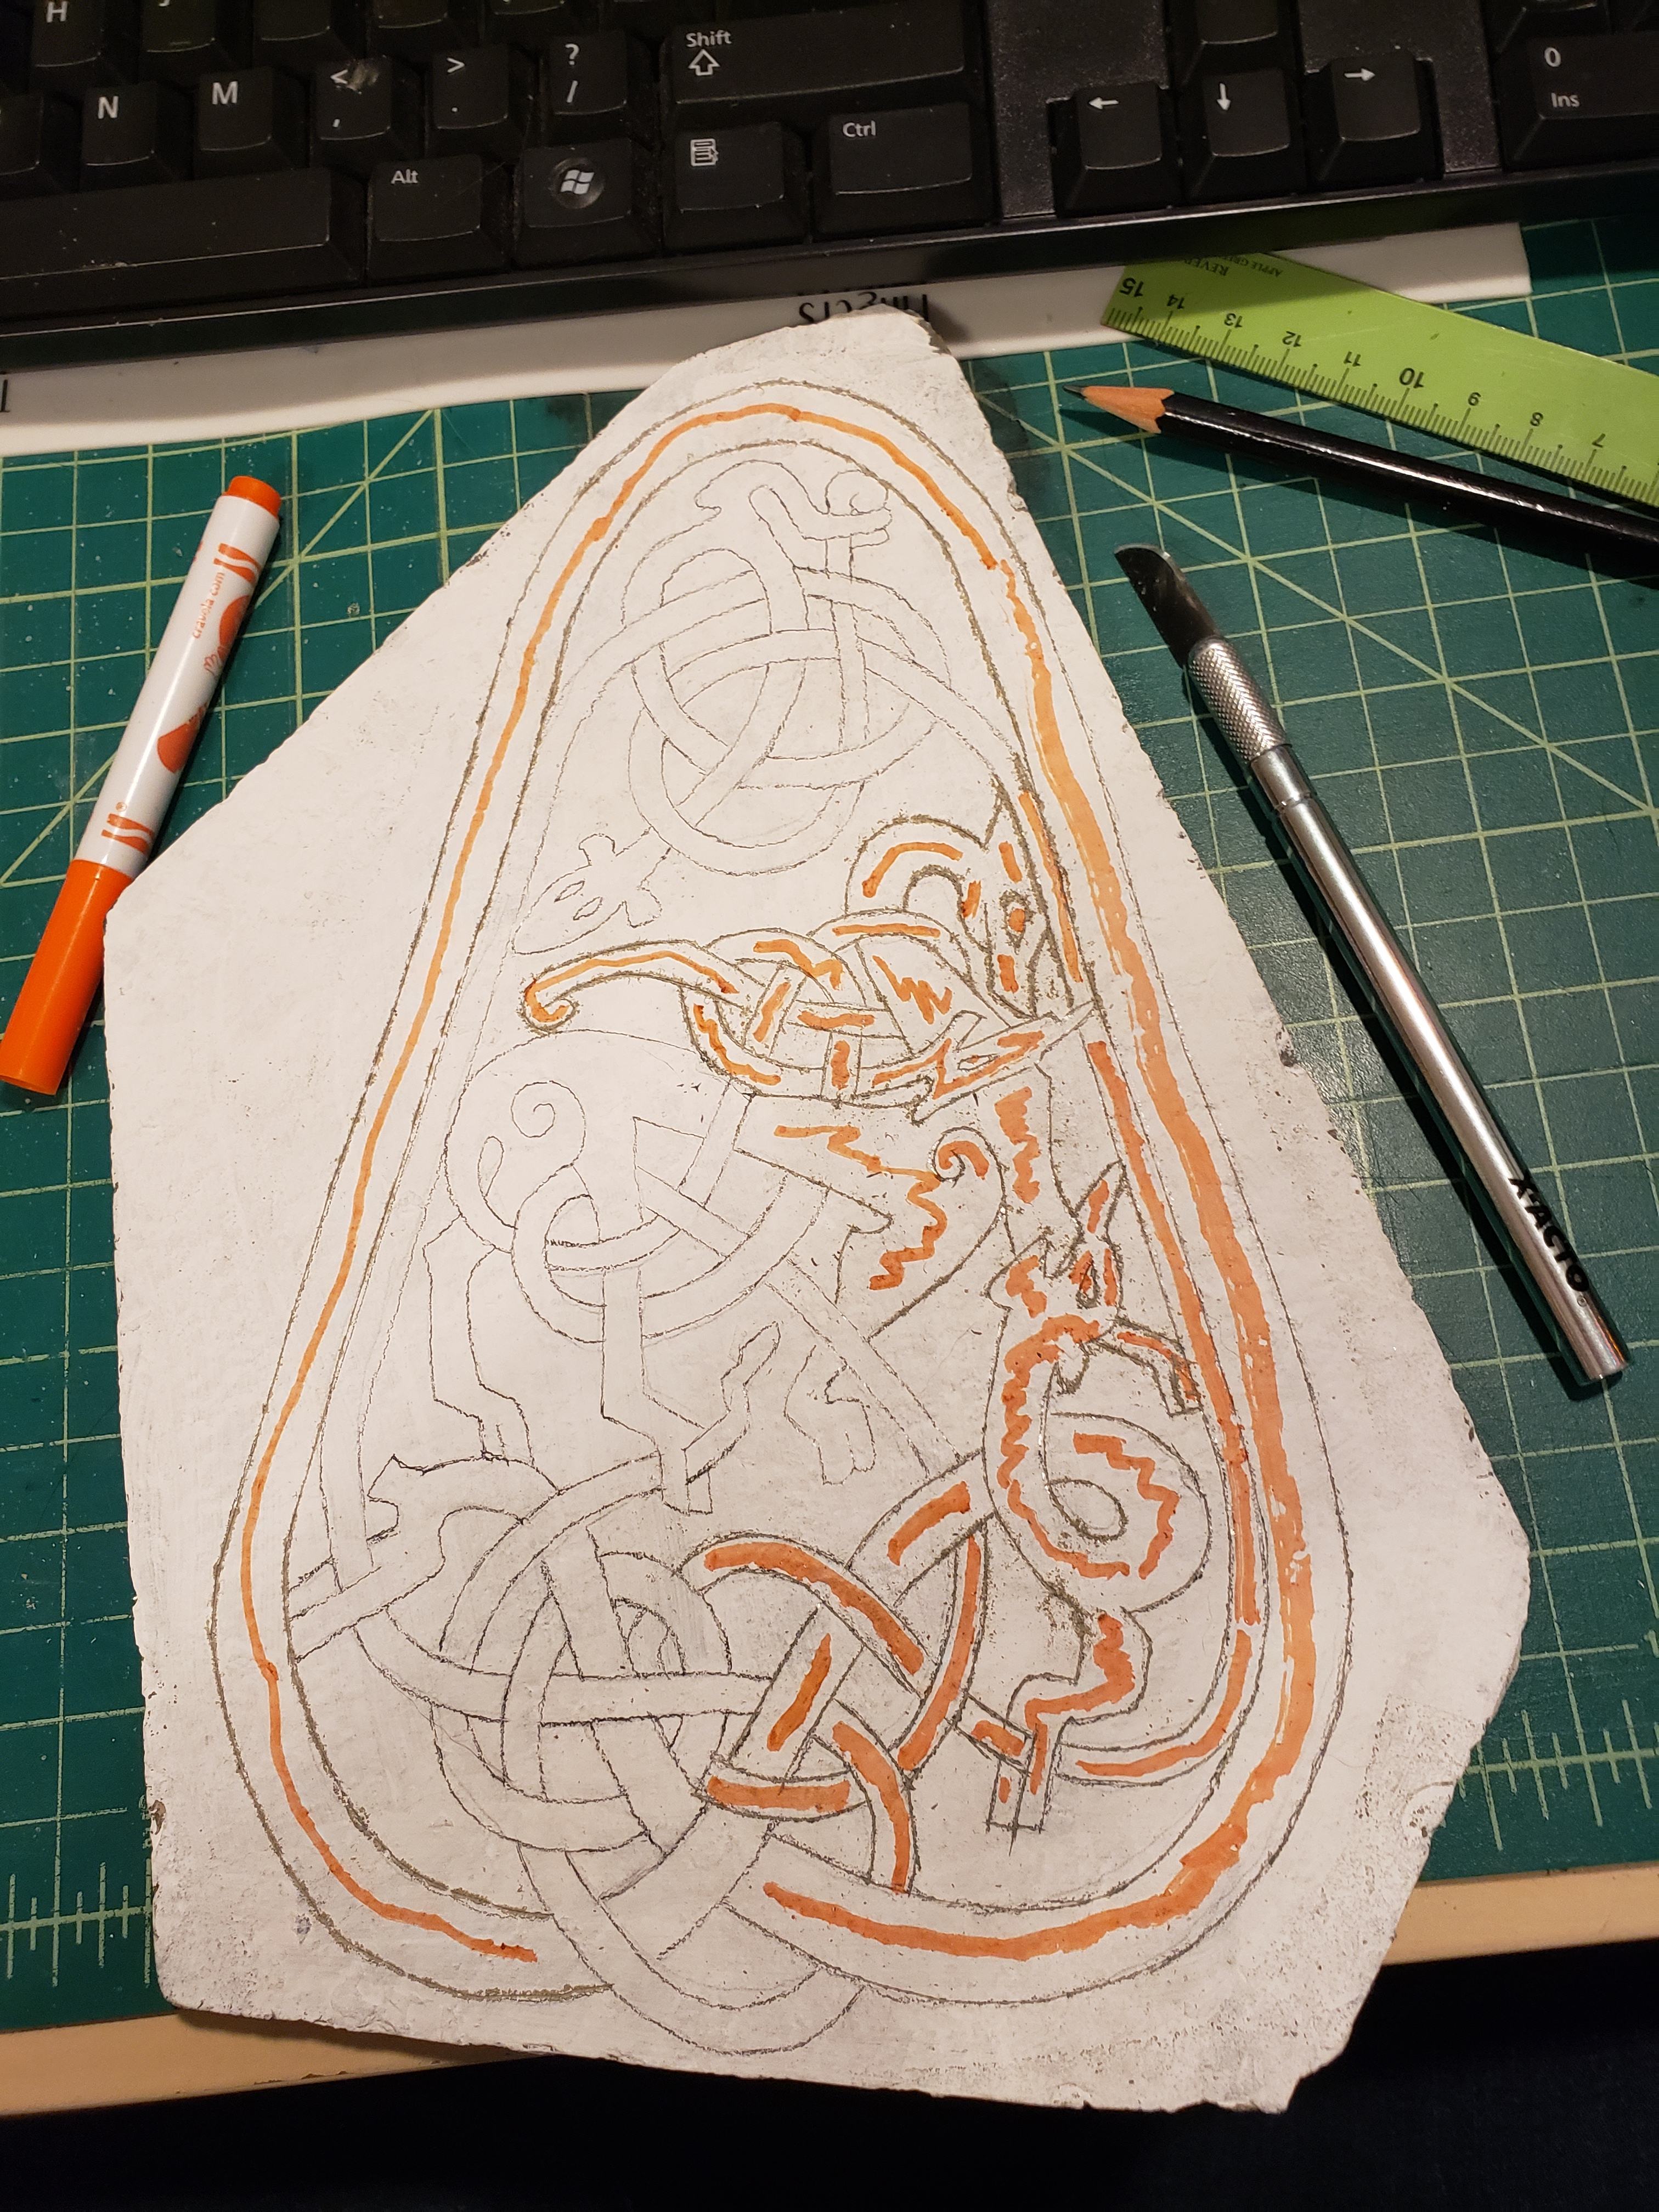
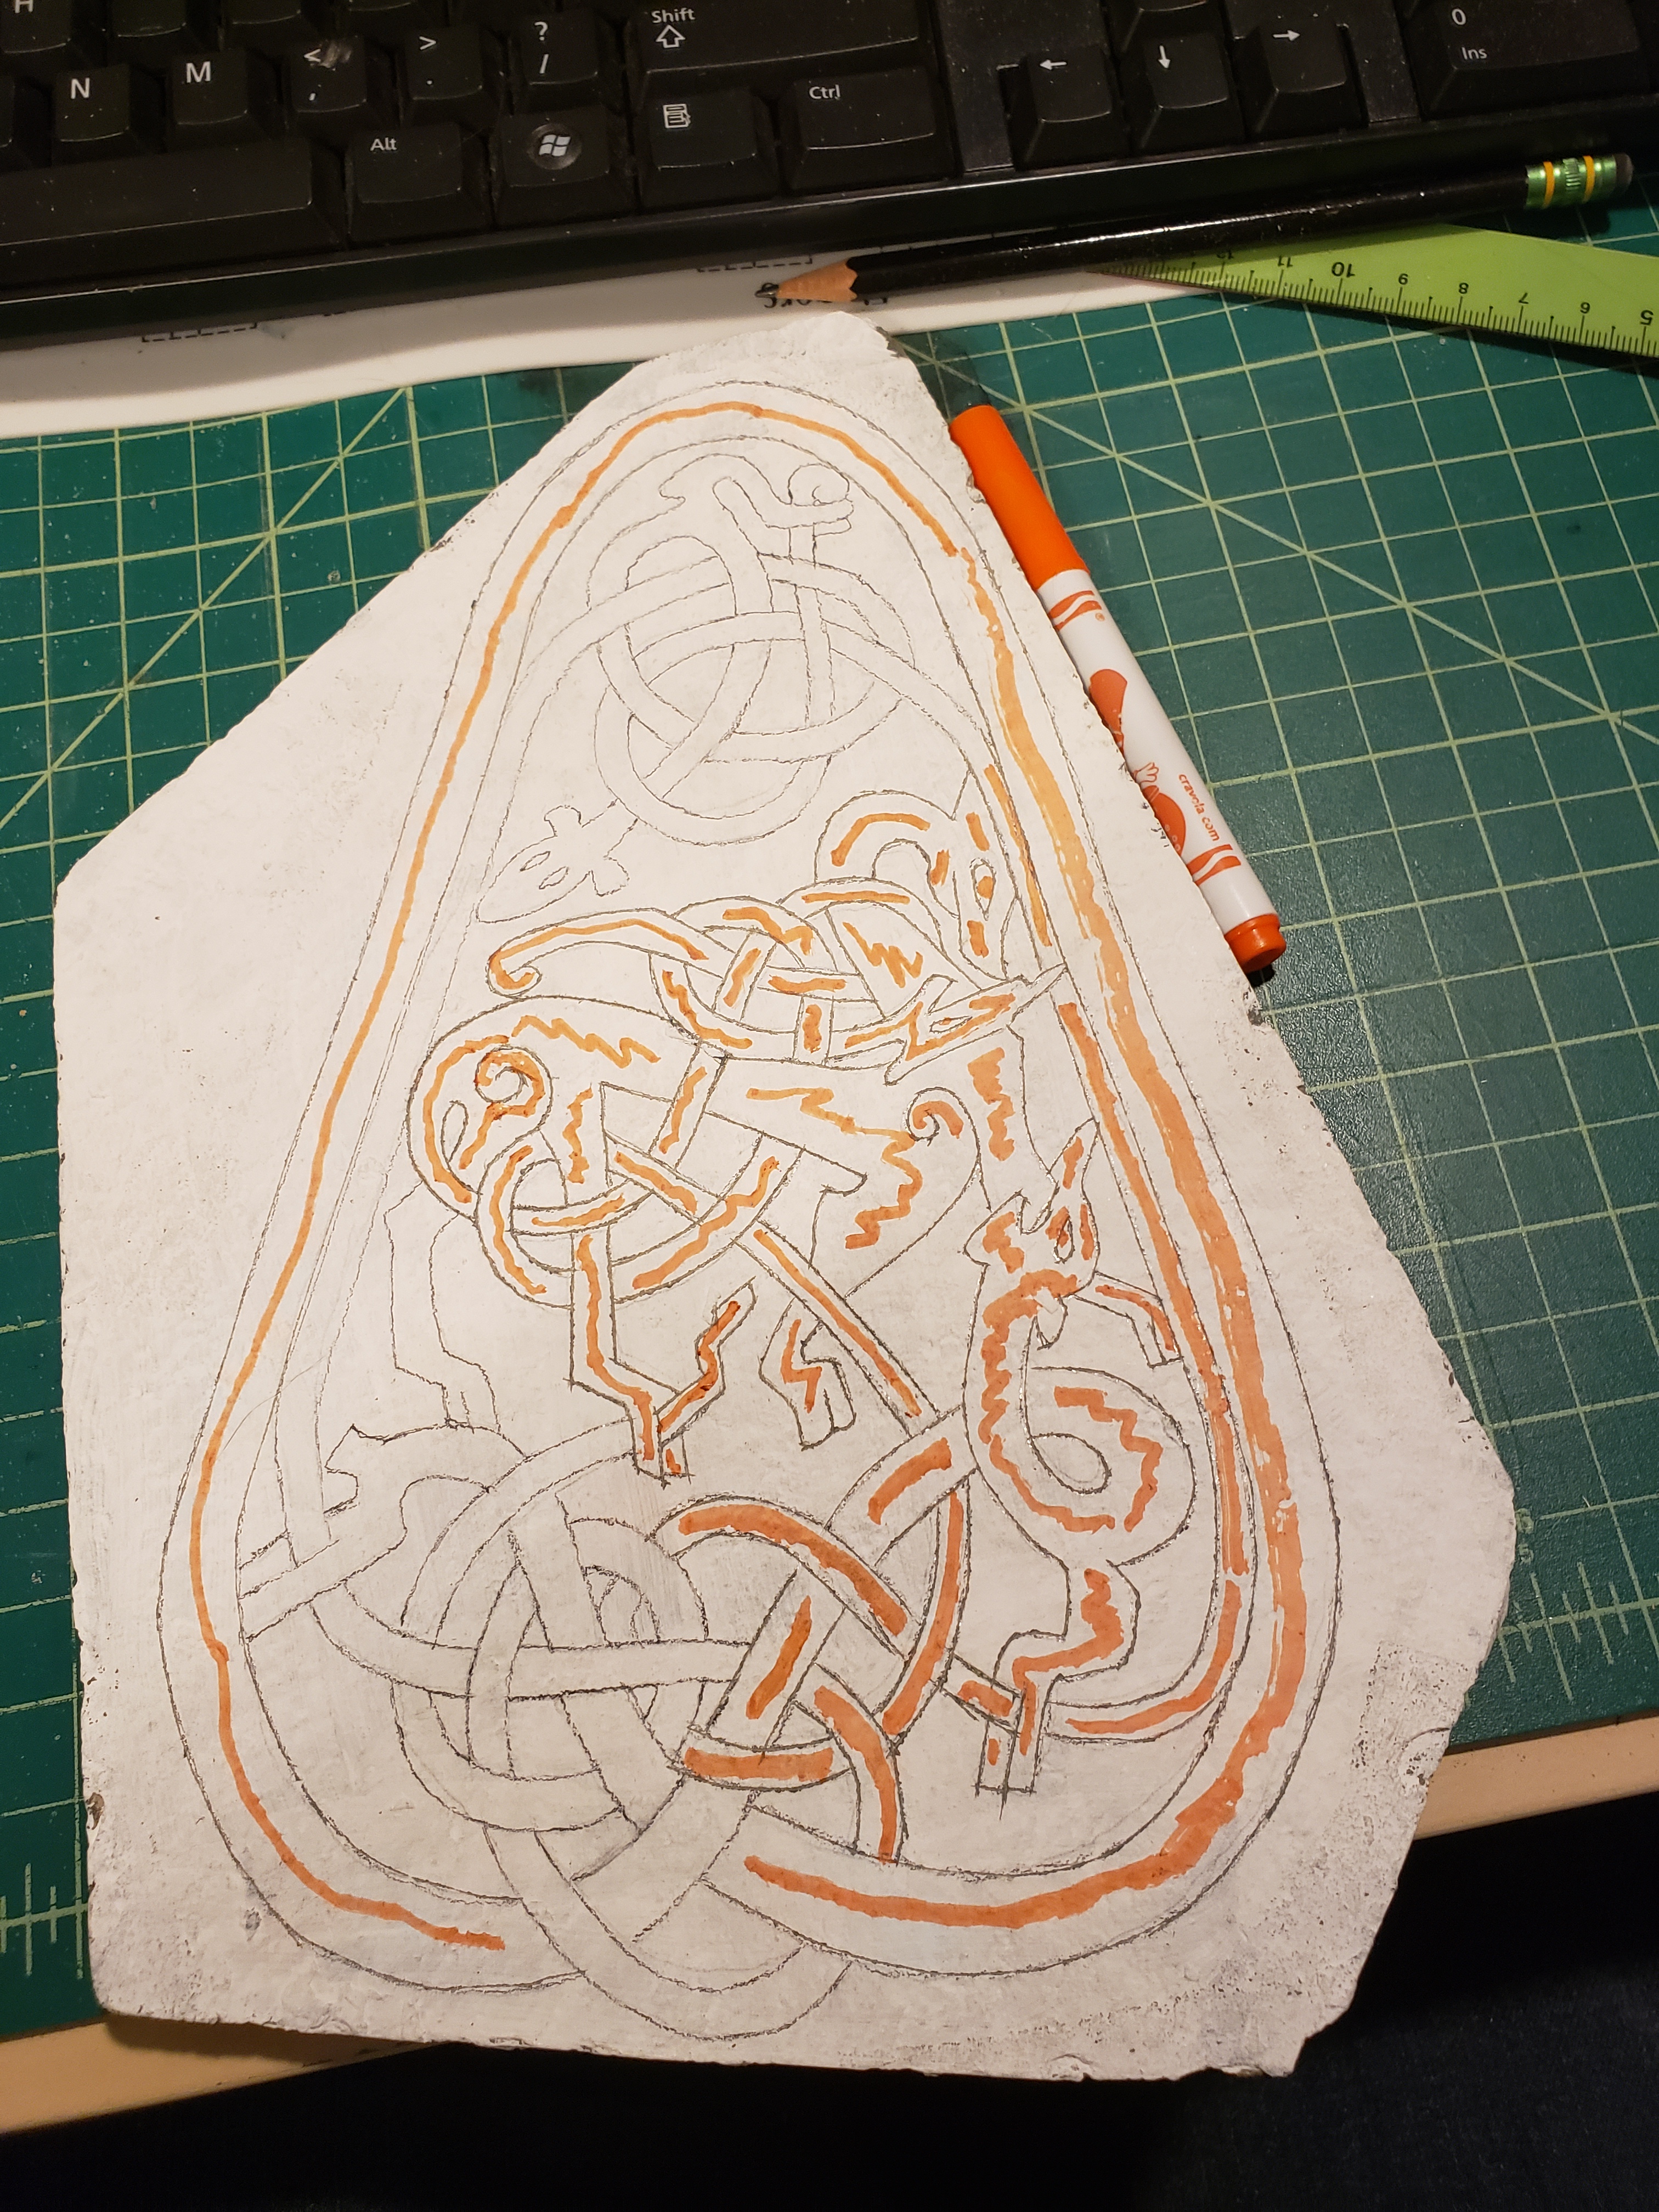
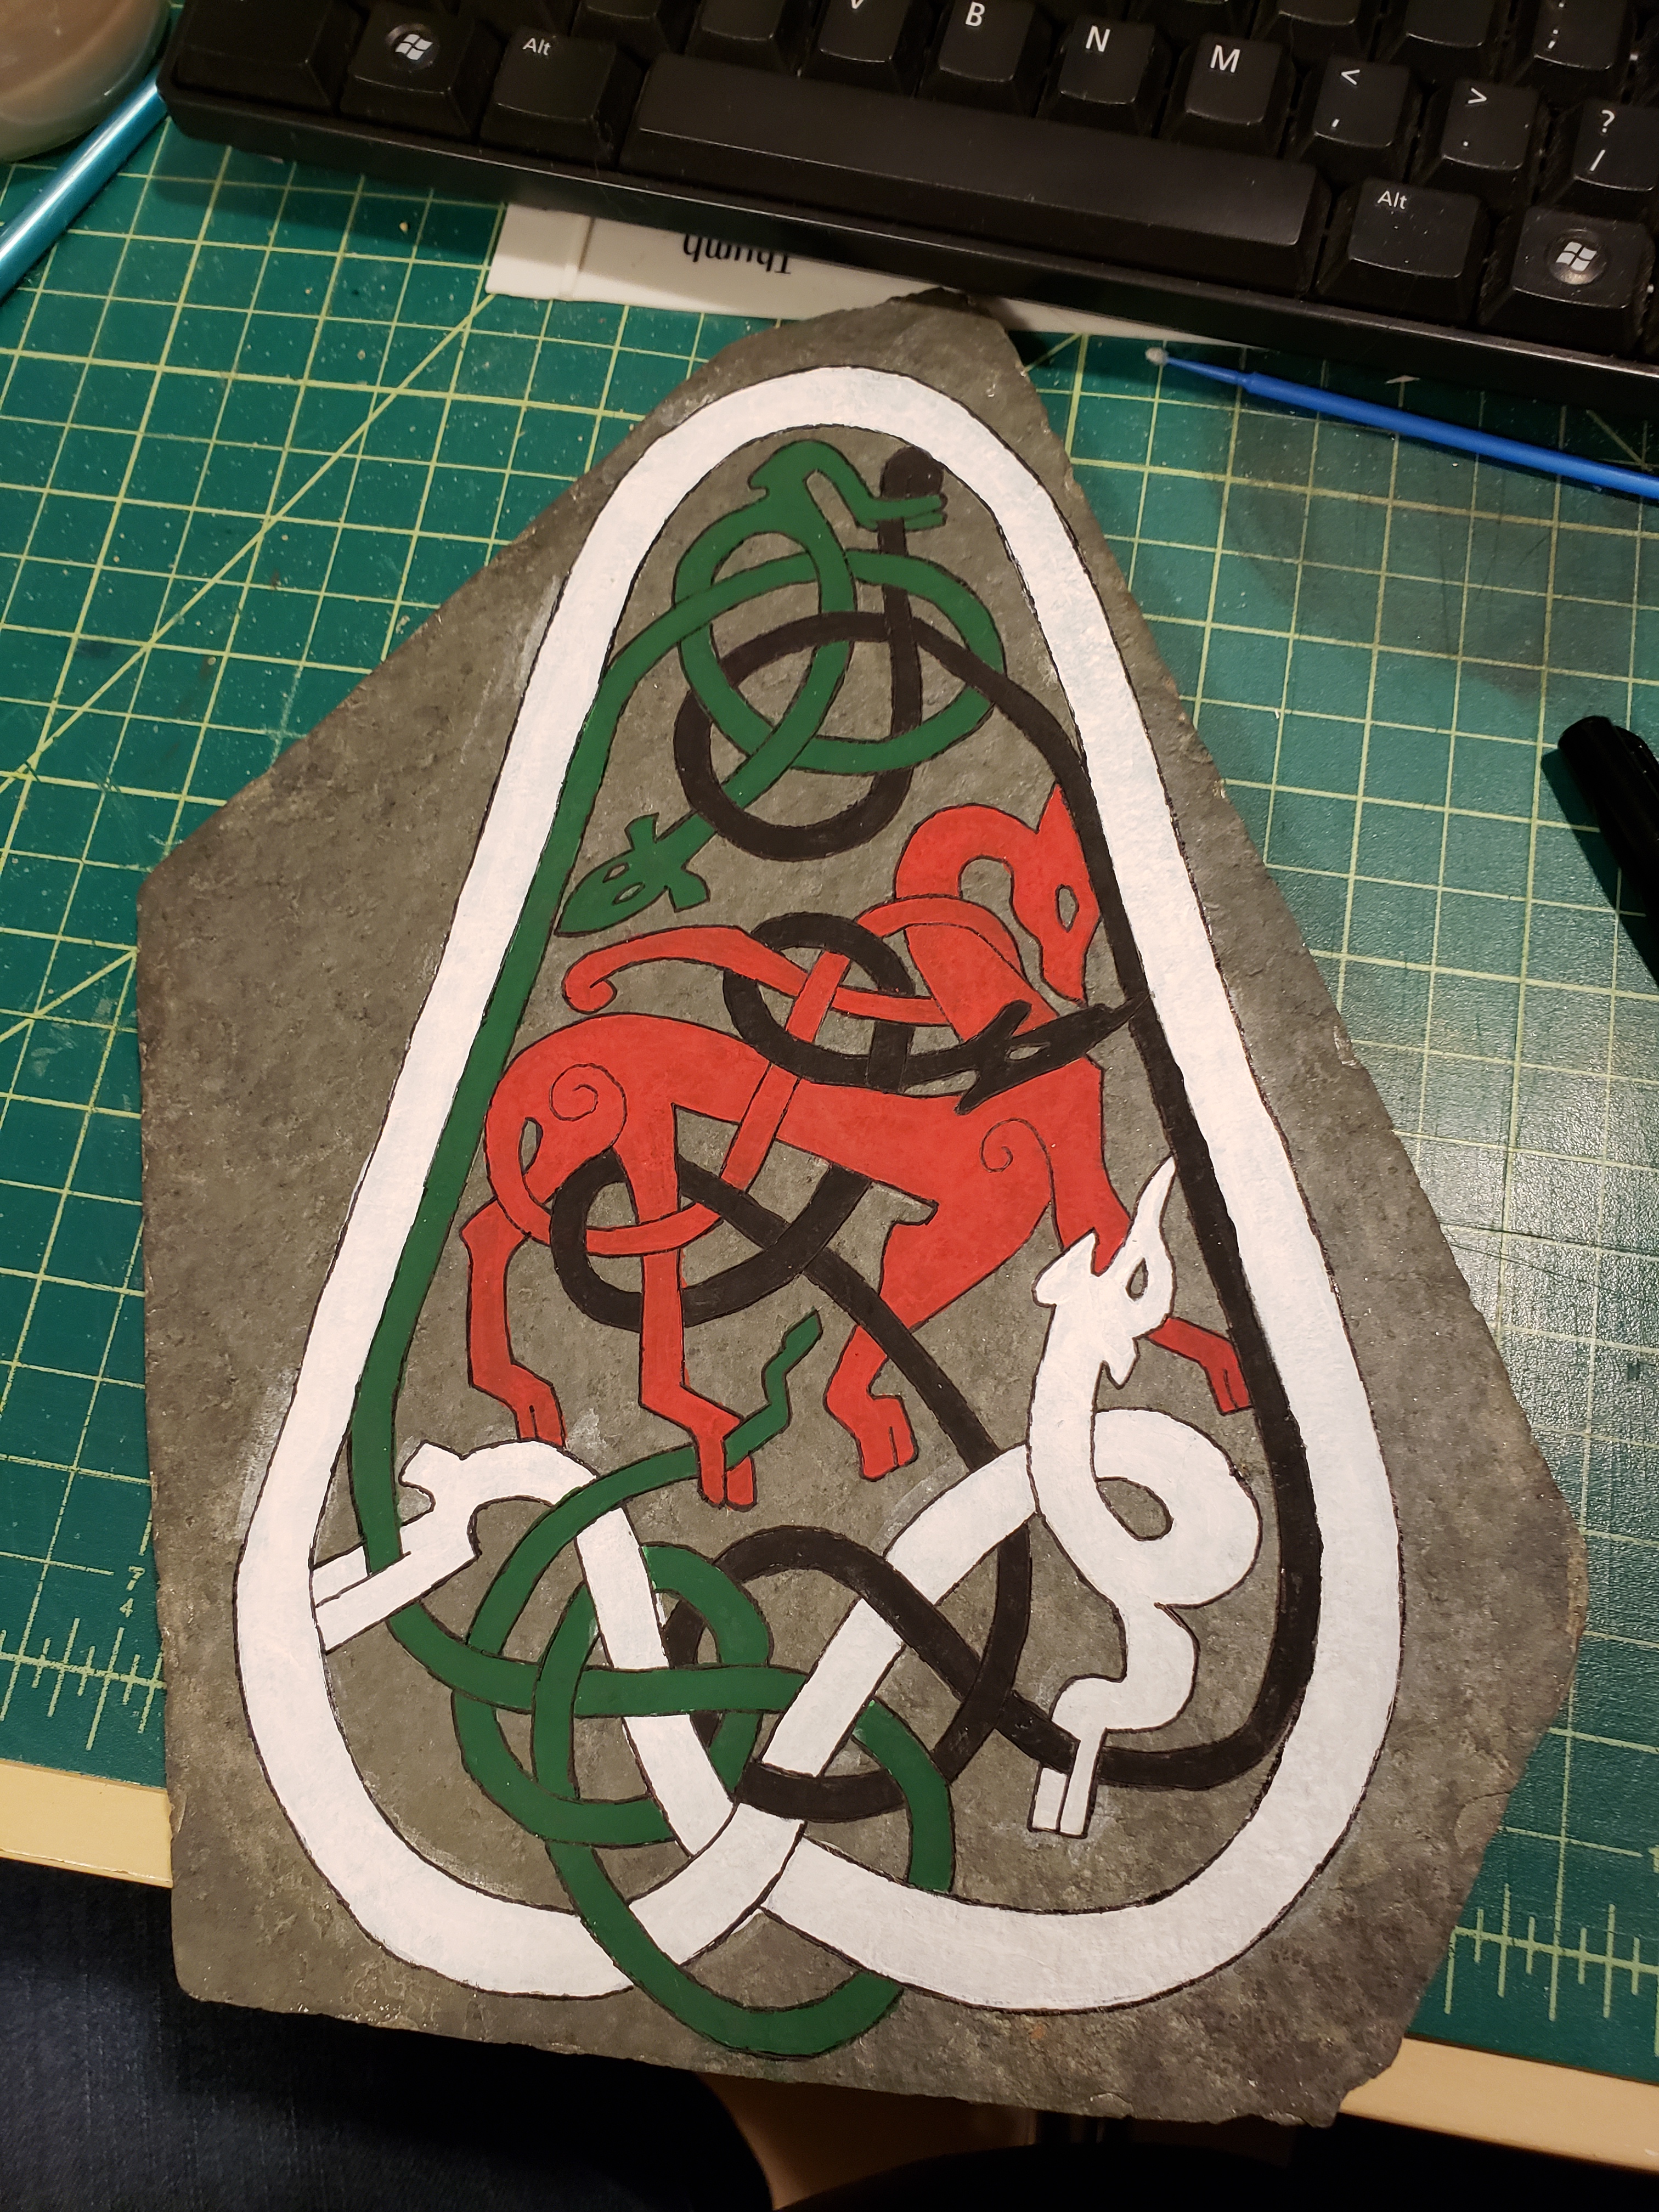
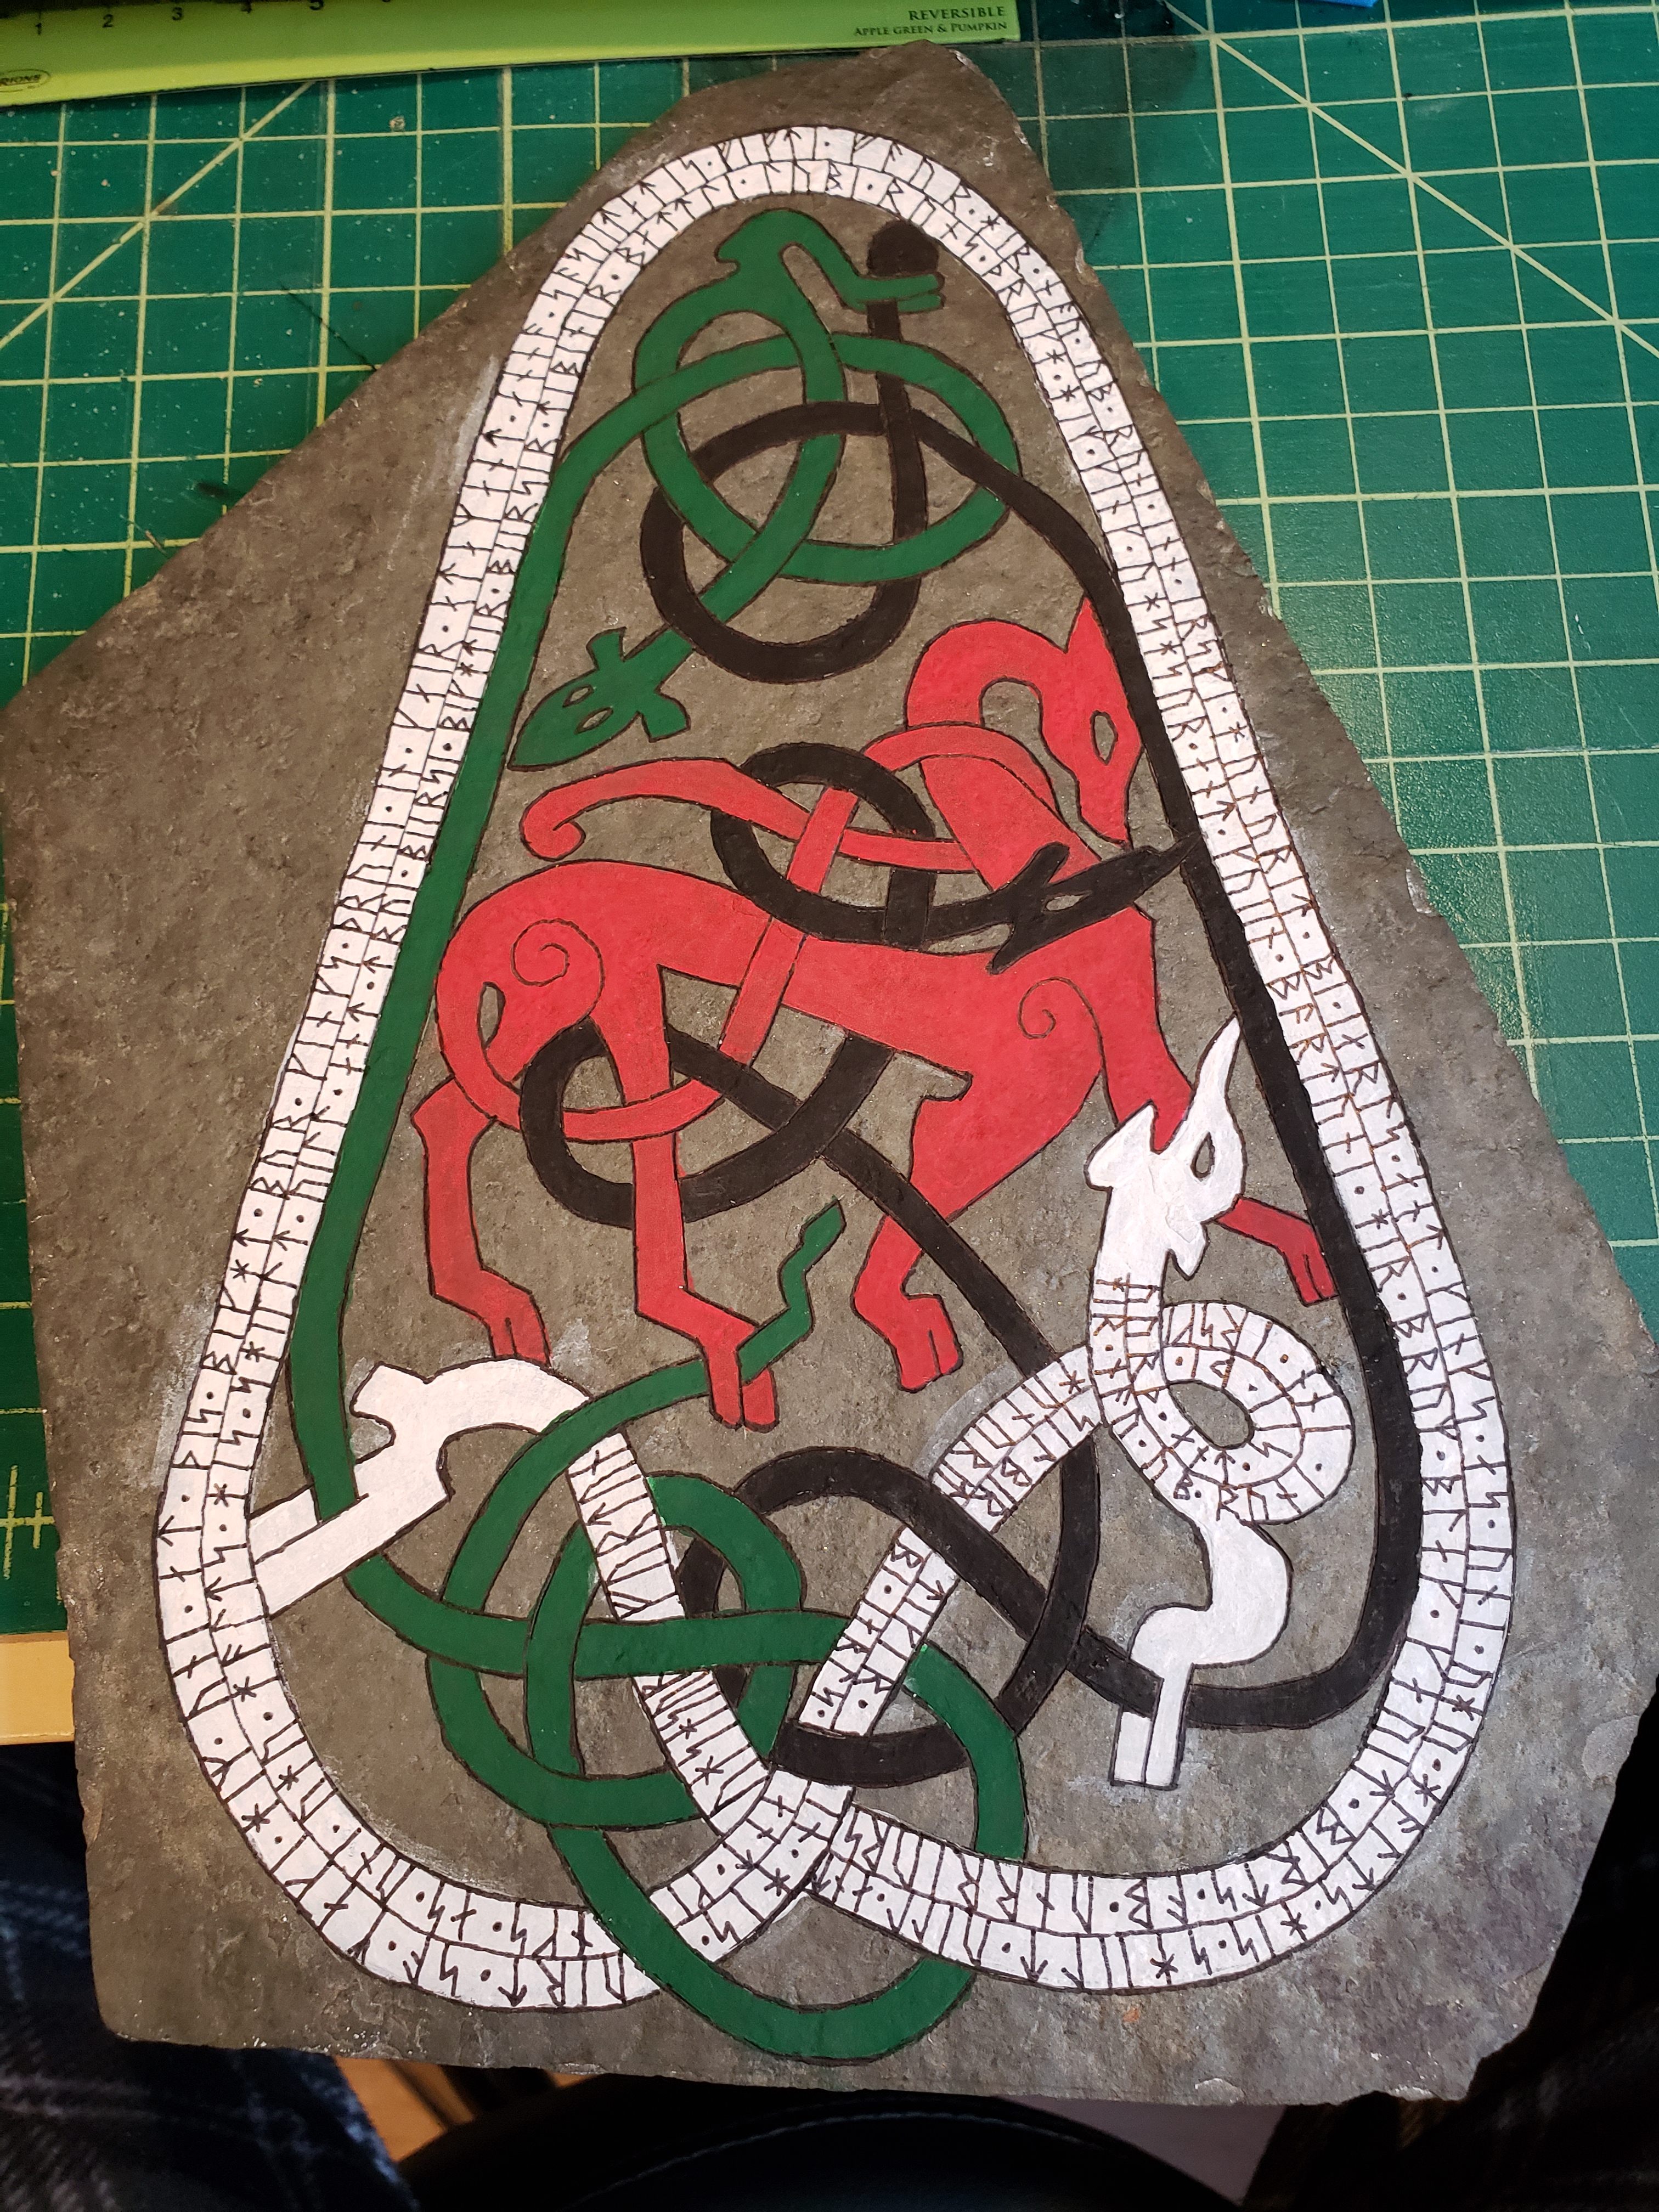


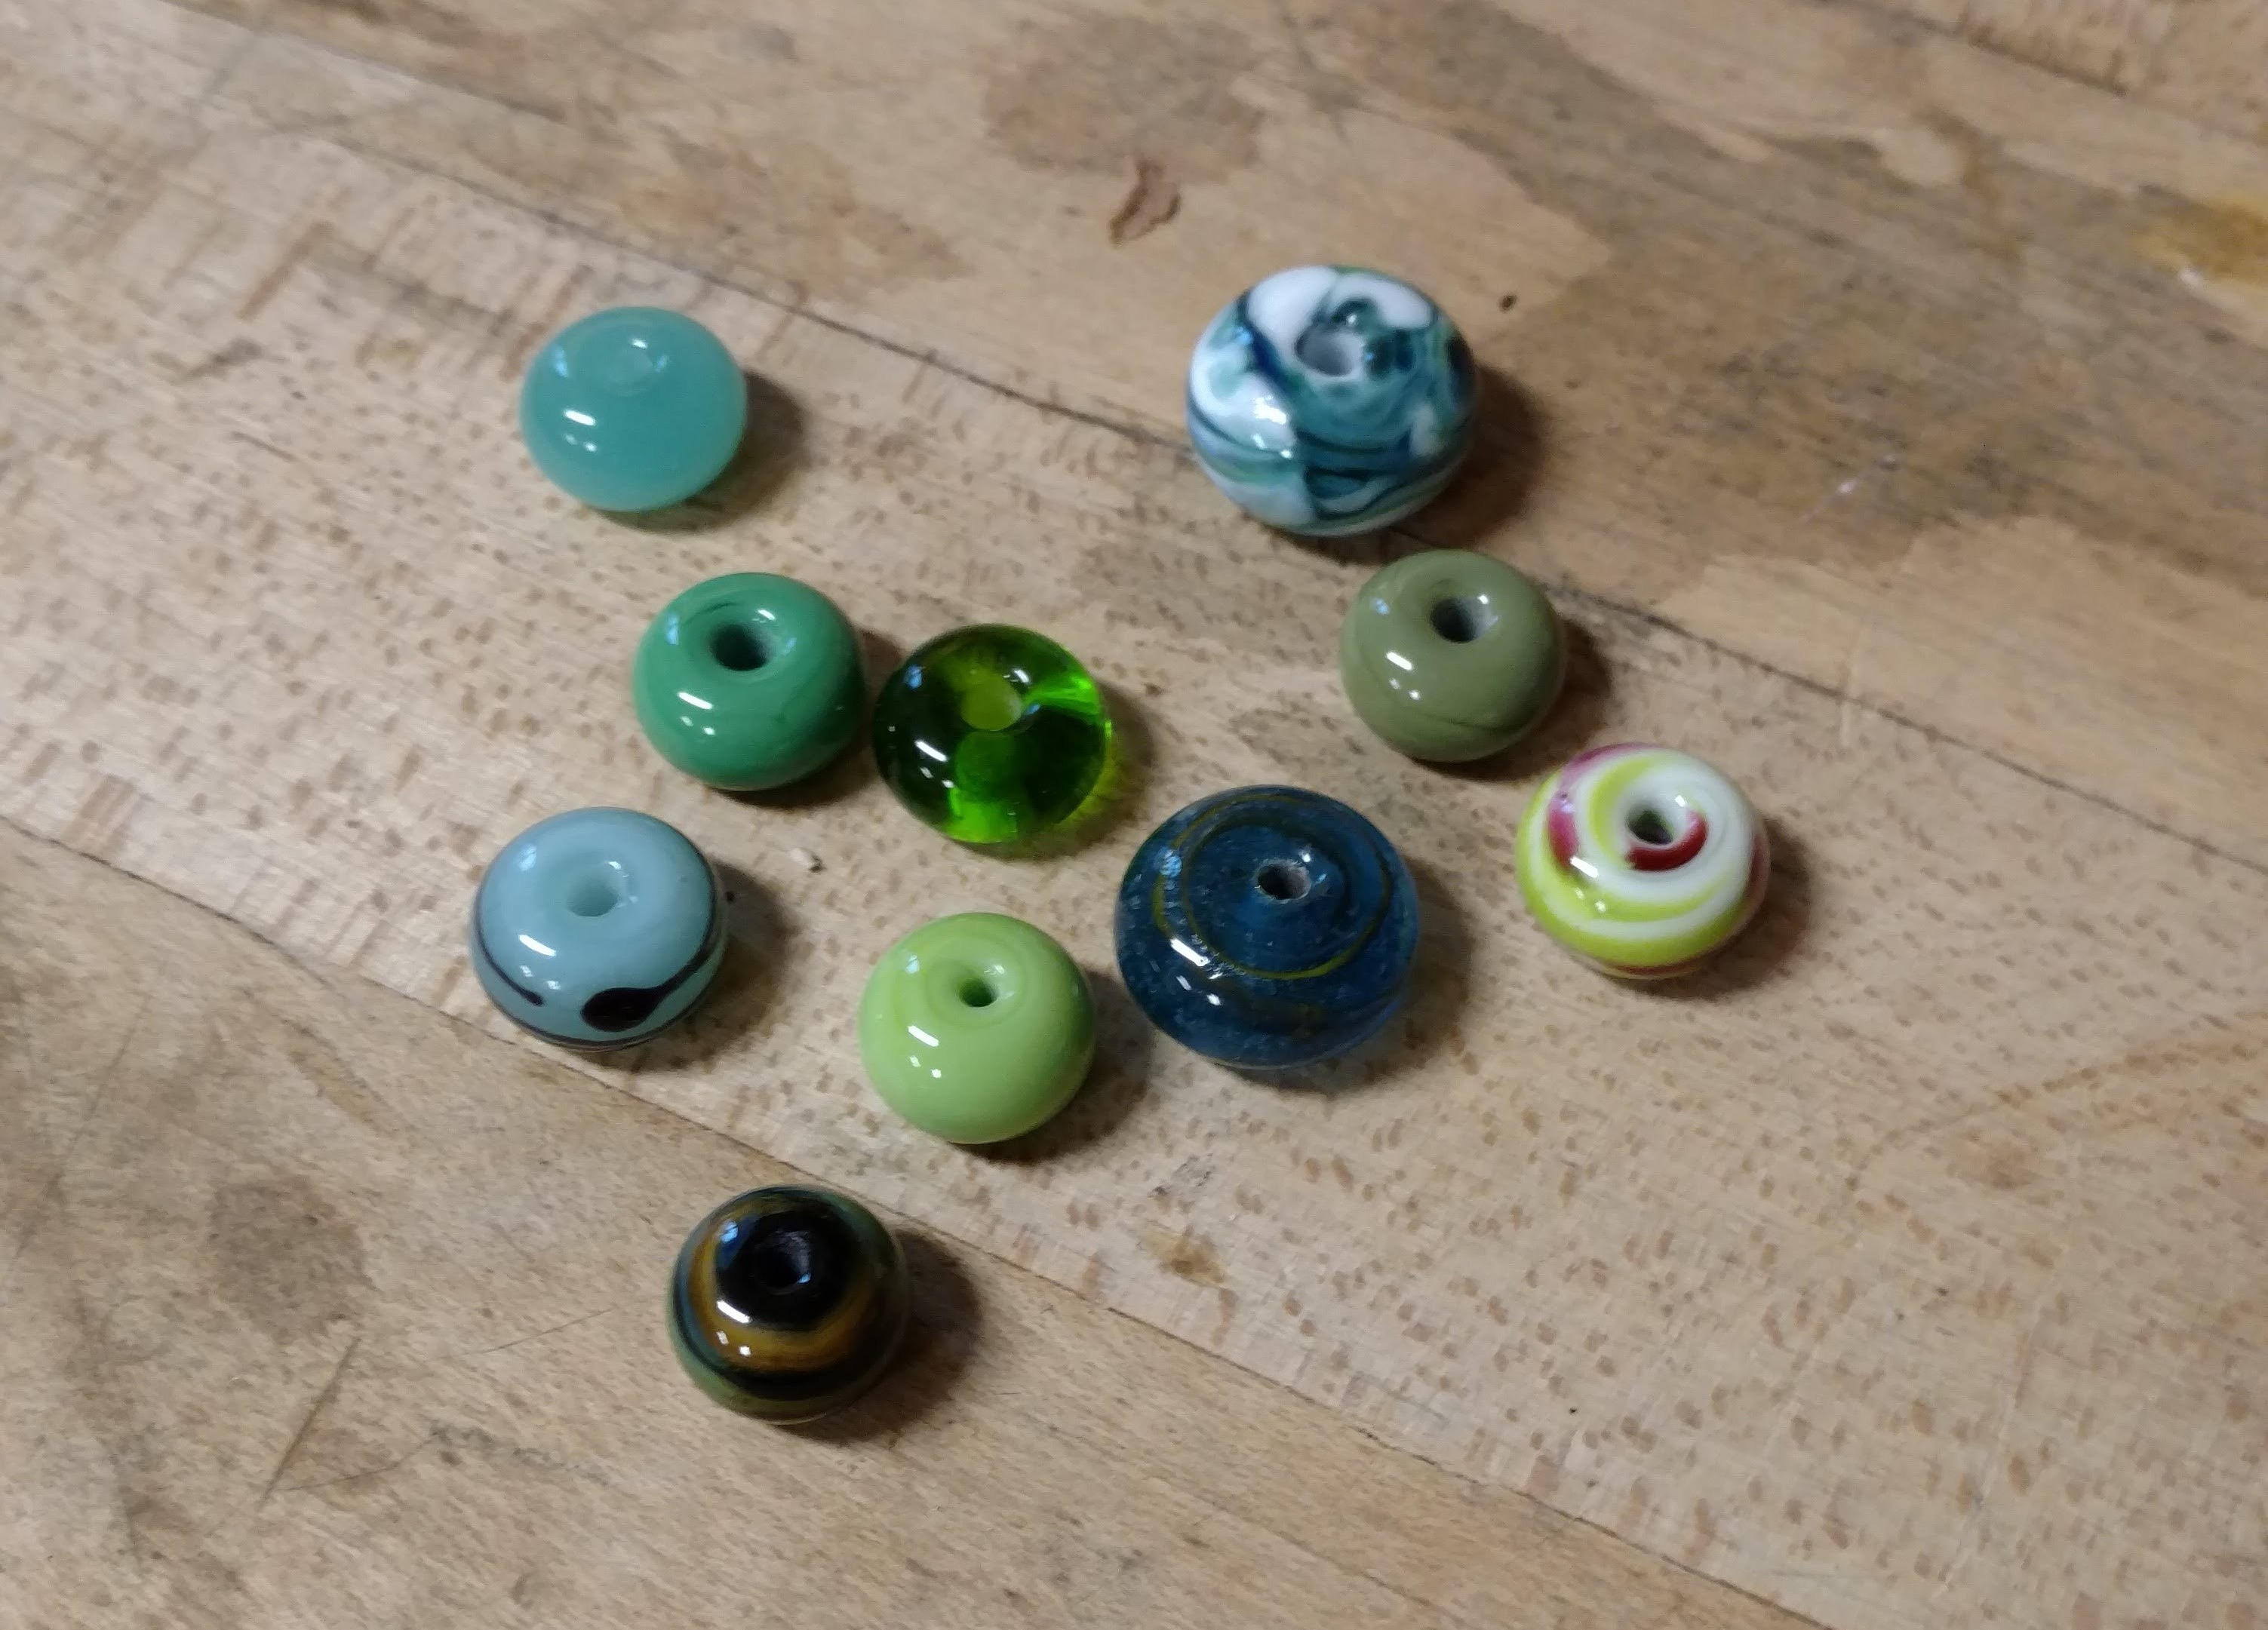
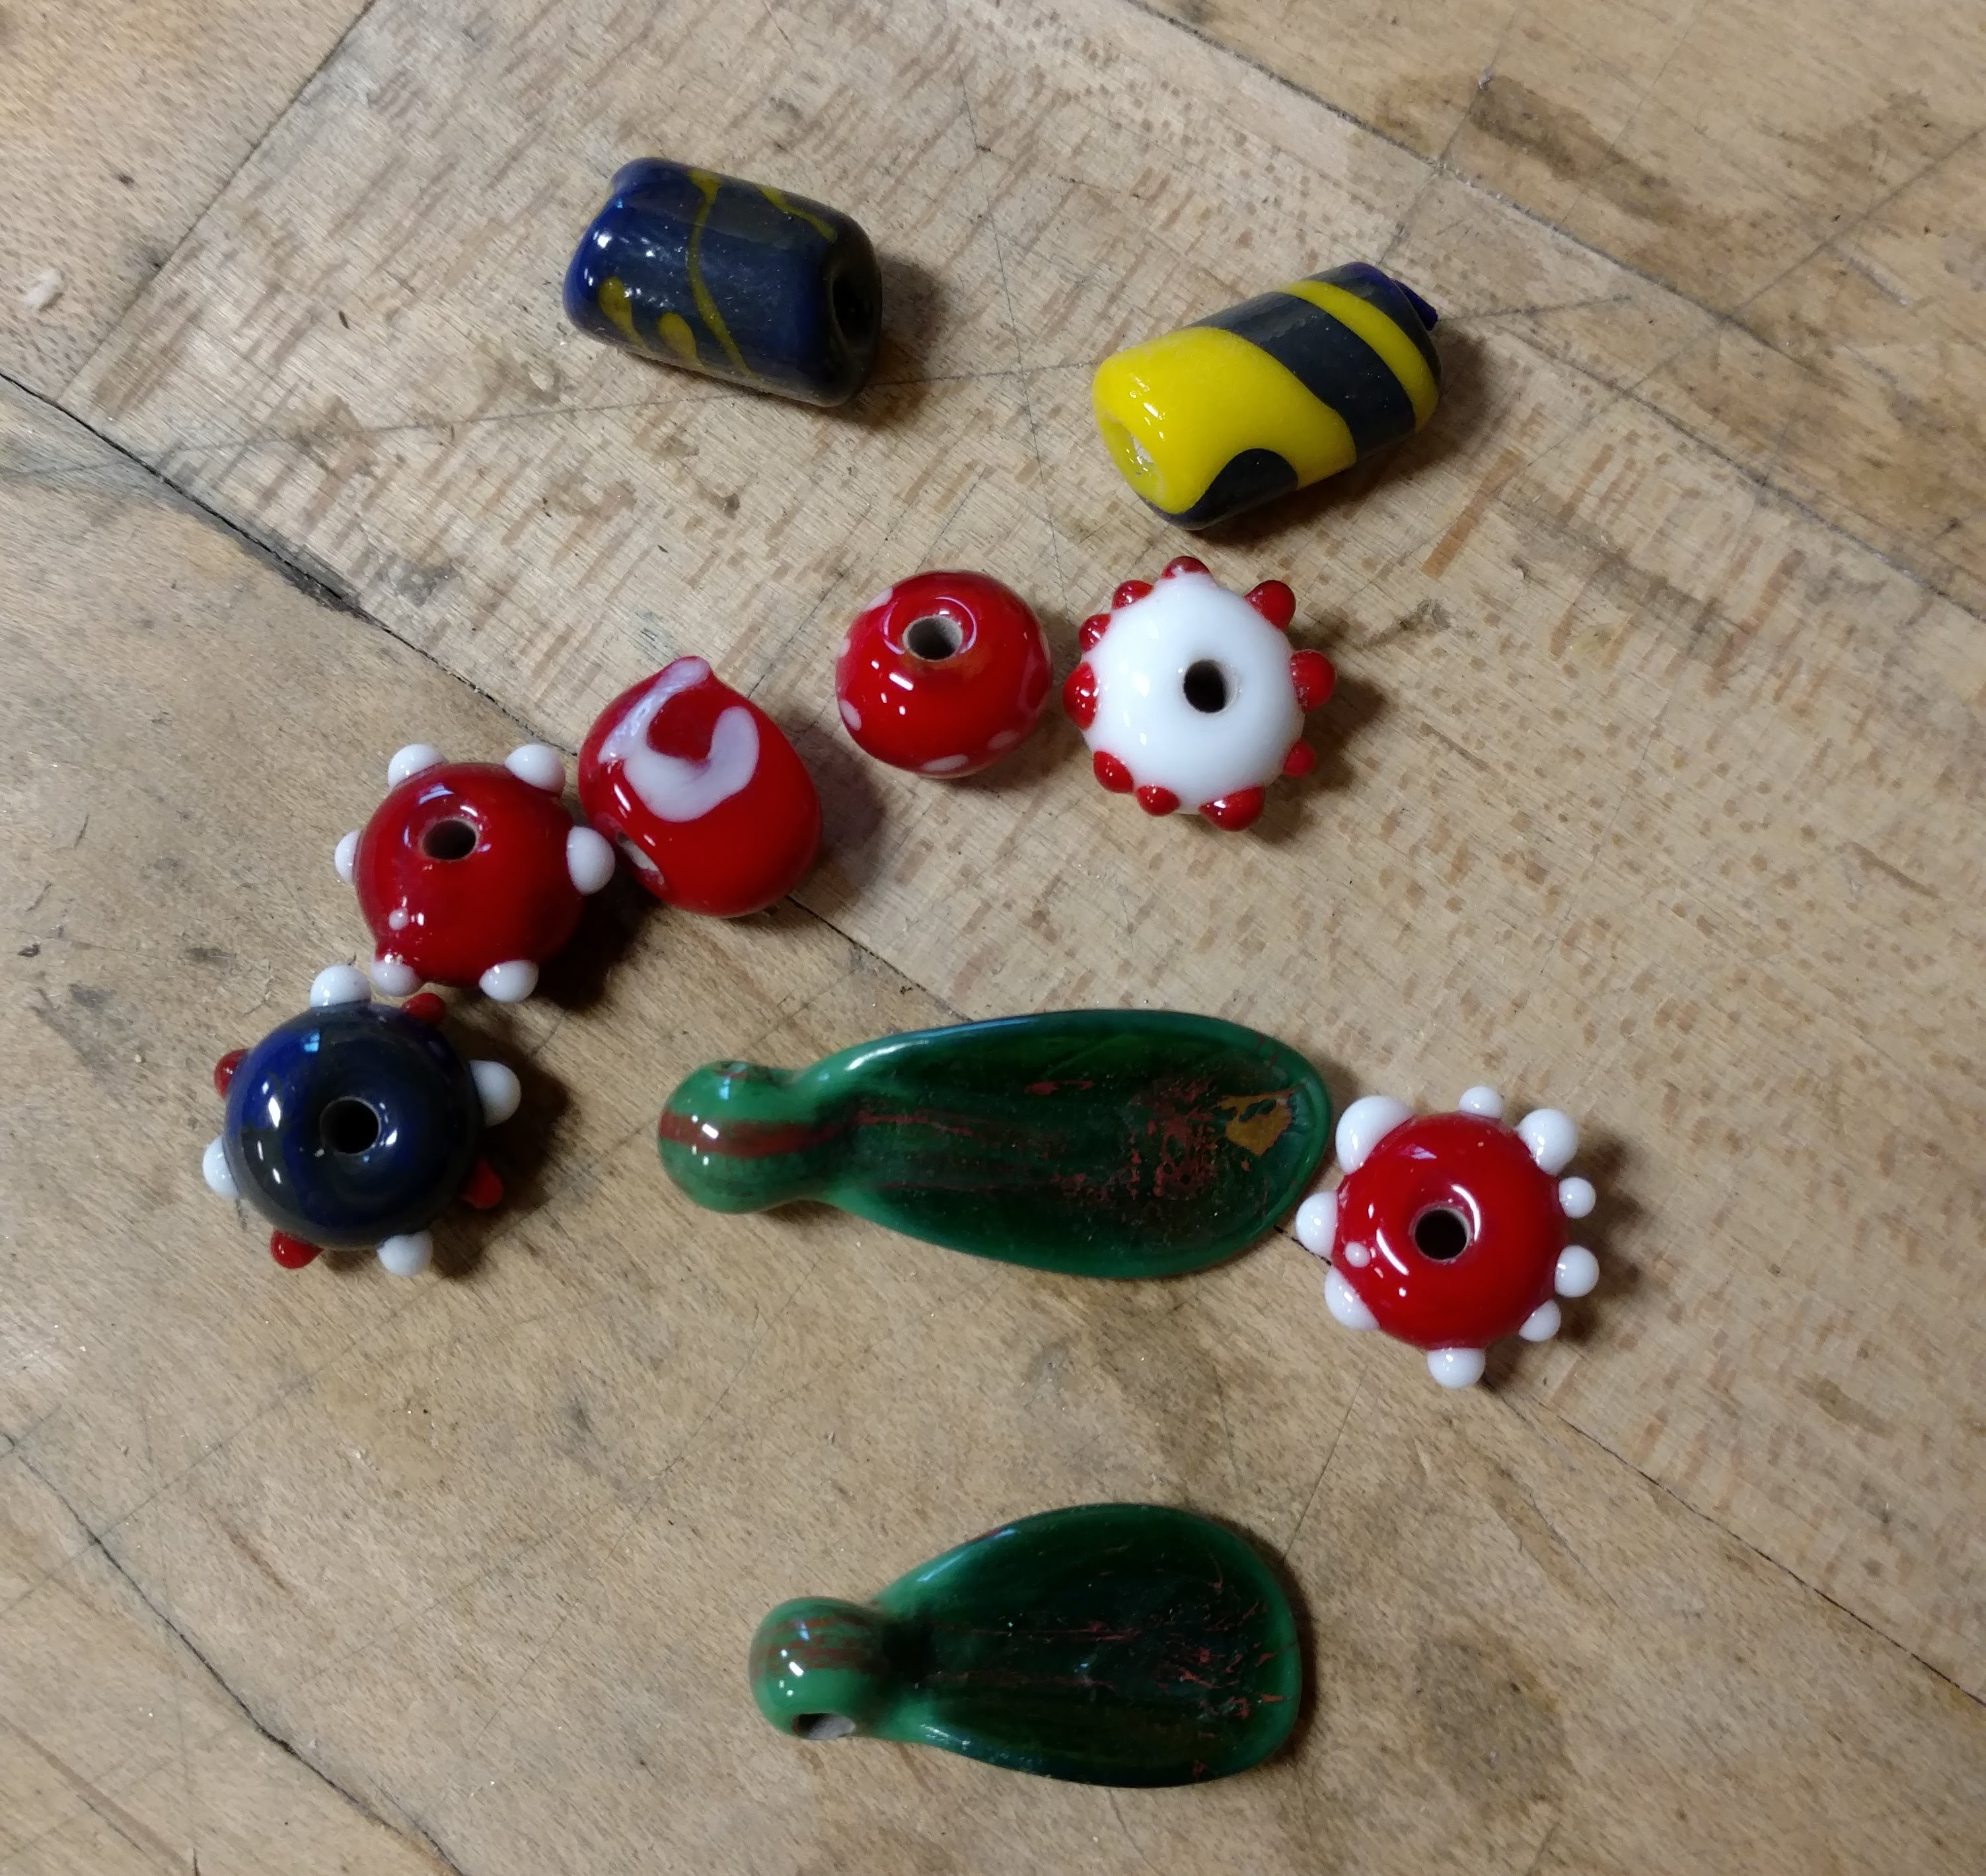
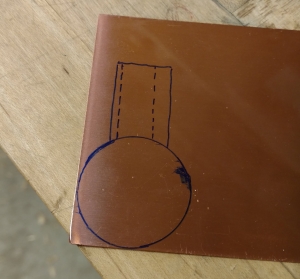
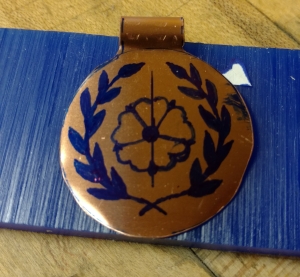
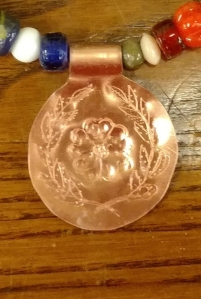 This picture is awful (mostly lighting, but also it’s just a crop from the larger picture. I may send Dave over to Thyra’s house to get a better picture some day) but it shows the final item. The lines were all tapped into place and then I used various punches and random objects to dish out the shapes. I then put in some texturing using the leather punches.


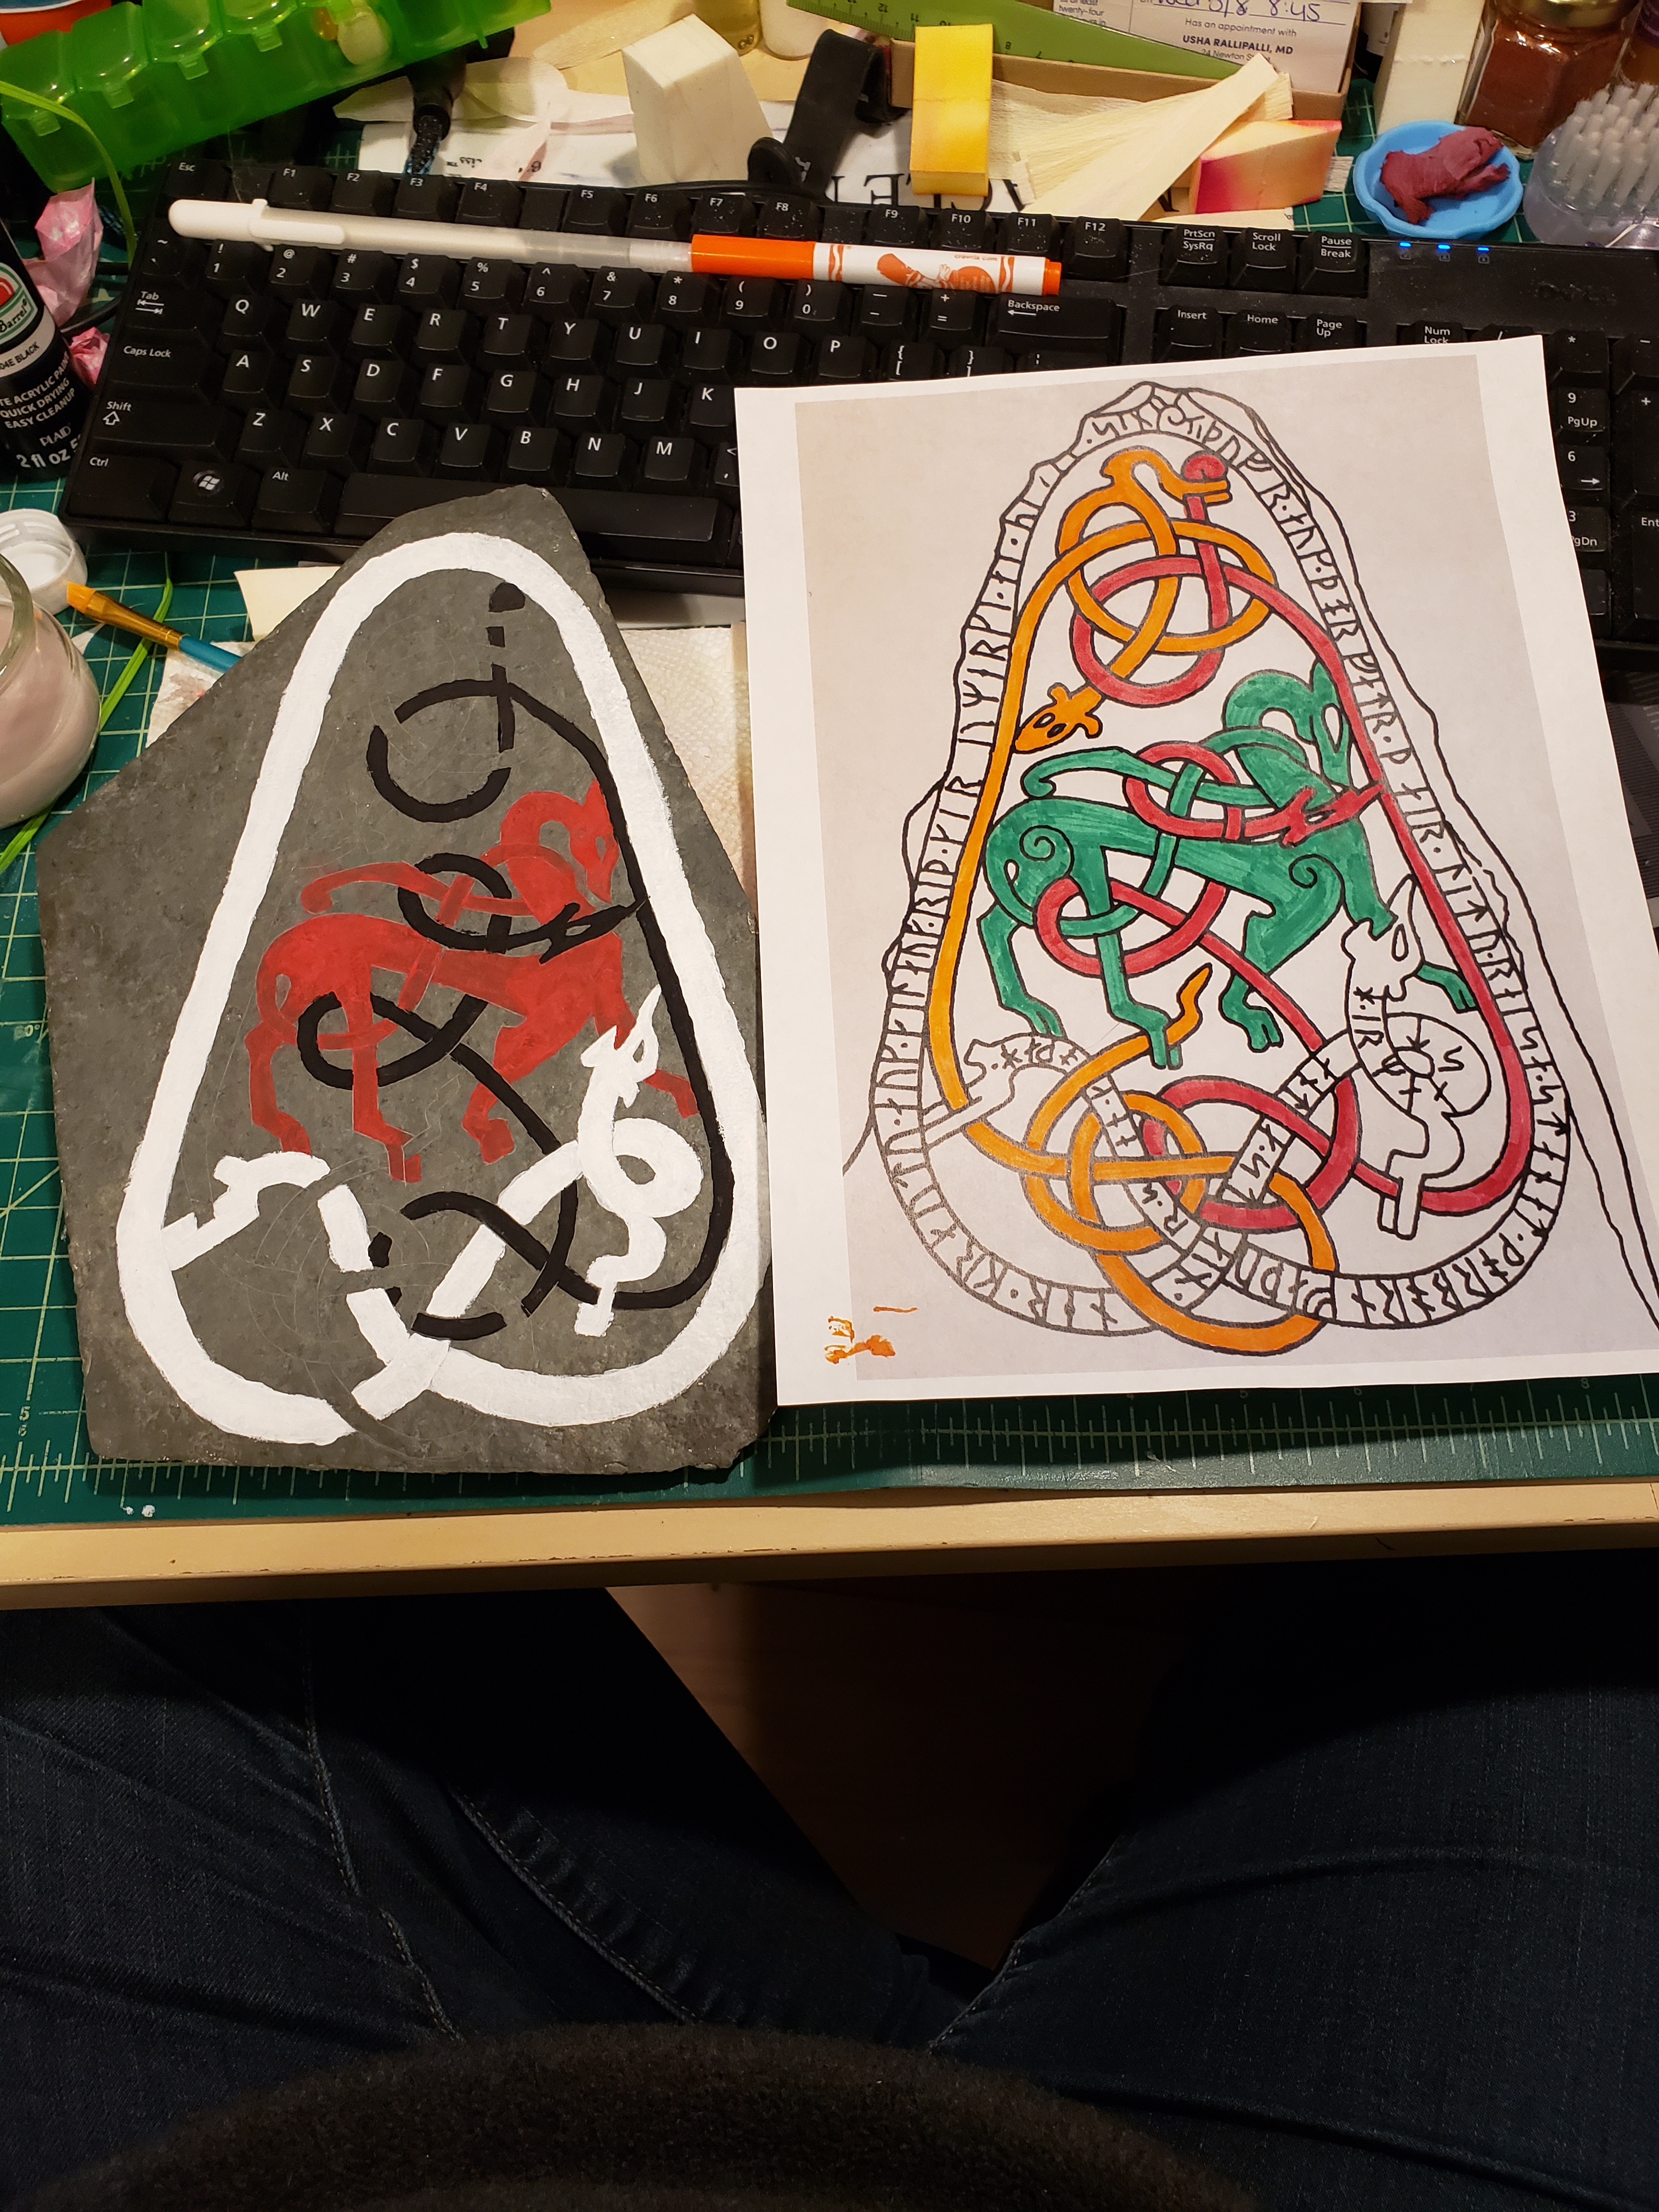
 I hate my spacing, both the line spacing and the letter spacing. The changes in the size of the hand was somewhat intentional, however the execution was not as I had wanted it. For once though, I’m not going to beat myself up too much as I did this scroll while burning up with fever and shaking through chills and coughing fits.The fact that there is nothing horribly wrong with this scroll is a miracle. I should have realized my limitations and sent it out to have the calligraphy done by someone else, but I felt better in the morning and thought I’d be ok to do the work, but no, I just got sicker. Turned out it was full blown pneumonia. But I got it done, and it looks better than some of my work, so that is somewhat a win.


Recent comments